Heippa! It's the final posts of 2024 this week! First up is this wreath card I made for Gelli Arts. If you want to see how I made it, you can see the Reel here (link) on my Instagram.
I used two green PaperArtsy paints to create the card. I first spread a layer of spruce green paint to my Gelli Arts plate and patterned the layer using a self carved holly leaf stamp. After letting that layer dry I added some red berries in the mix using a Q-tip. Again, a bit of drying and then I lifted the paint using another shade of green. To finish the card, I added some doodles, sentiment sticker and a couple of sequins.
Thank you for stopping by today! Wishing you a jolly Tuesday!
Howdy! Like I hinted yesterday, today I'm sharing another card that was already posted some time ago in a Reel form to my Instagram. It's another testing video for GelliArt's Perfect Border set.
In the first test I used plants to add pattern to my print. In this second one I used the same colors, but this time patterned the print using paper flowers. As there wasn't as much pattern than in the plant one, I ended up decorating this print more using a die cut frame, a Tim Holtz paper doll and a sentiment sticker. I did leave one flower visible, though.
Moikka moi! This seems to be a card week again! The two I'm sharing today and tomorrow are something, that went live on their video for last month. But then on Friday it's something brand new again as it's the process video time!
But back to today's creation. I made this card while trying out the new Perfect Borders set I was sent from GelliArts. As you may remember, I guested in GelliArts printing challenge and they asked me to do a couple of more projects for them and for those sent me the Perfect Borders set. The two cards I'm sharing today and tomorrow were my first trials with the set.
This was the very first thing I did - an easy leaf print. As you can see, I did it straight to a card base and used just a couple of things to embellish the print. Now thinking back, I think the print would have been more in balance and had more impact with just single plant, but I was eager to try! You can see the process here (link) on this Reel.
Thank you for stopping by today! Wishing you a splendid day!
Hi there! It's again new week and new shenanigans! Today I'm sharing a pumpkin card I made for Gelli Arts.
The Reel (link) went live a couple of days ago, on National Pumpkin Day. It shows how I created the card using Gelli Arts Perfect Borders set. The card is 5x7" and just one layer, which is quite unusual for me. But I wanted to challenge myself and tried to think a design that would show the Perfect Border set at work. I feel that its beauty comes obvious when you're doing a layered print and need to align the layers easily. To show that, I draw a pumpkin design and cut three stencils out of it. One for the background color, one for the pumpkin and one for the wreath.
Of course I could have used the stencils just to apply the color though, so I added one more thing in the mix. I patterned the pumpkin layer using two colors. I first spread the first color using a brayer and then pushed some bubble wrap to the paint. After letting that layer dry, I then pulled the pumpkin print with another orange color through the pumpkin stencil.
Thank you for stopping by today! Wishing you a wonderful Tuesday!
Hi there! If you follow me on Instagram, you've probably have seen this creation already. It's my other guest project for Gelli Arts's ABC Printing Challenge. This one is for K, which was key.
These cards were super fun to do! It's a simple little print, but quite effective, I think. I first added black acrylic paint to the plate, used a brayer to spread it and pushed a key to the paint. I then pulled a print removing the excess paint, just leaving the impression of the key to the plate. After letting that layer dry, I then added red on top, put a self cut heart stencil on top and pulled the print to a piece of cardstock. I finished the cards with some handwritten and Dymo-ed text. If you want to see, how I made the card, watch the Reel here (link).
Have you joined the printing challenge already? There's still some days left!
Thank you for stopping by today! Wishing you a lovely week!
Hi there! Today I have something exciting to share! If you follow me on Instagram, you probably know this already, but I'm participating to Gelli Arts's ABC Printing Challenge as a guest! A was for animals and yesterday B was for birds and my two crow earrings were shown! You can see all the challenge letters here (link) in Gelli Arts Instagram post.
This opportunity actually came via my friend Marsha Valk (link). She named me a couple of letters and I was immediately inspired by a couple of them. This B was one of those and I was jumping with joy as I got it! I mean, of course I could have just done it taking part of the challenge, too, but I felt really happy to be able to make a Reel for Gelli Arts.
So, if you want to see how I made these gel printed earrings, please head over to Instagram! They were a bit trial and error, as the shrink plastic proved to be a bit more challenging surface to print on than absorbing paper! Makes total sense now, but... If I'd do these earrings now again, I probably would make less layers to the print. Maybe just adding the paint markers doodles to the plate and then already pulling the print. That way the pattern might transfer better to plastic and after shrinking the surface wouldn't be so bubbly. Although I have to say that I quite like both - the weathered looking print as it's not perfect AND the slightly textured surface!
If you have any questions about these, please let me know! Have a great start to the week and happy printing!
Materials: Gelli Arts, CC Hobby, PaperArtsy, Posca
Hiya! Yesterday I announced a FB live in Friday in Finnish and today it's turn for an English announcement as I'm keeping the monthly live in English on Saturday. Quite a busy week!
During the live I will recreate a little mixed media angel using gel printed tissue paper, wooden bases and glittery details. I'm also going to add some bead details, some lace and buttons to decorate her or him.
I'm not going to be printing the tissue papers during the live this time, but instead use some earlier prepared ones. If you want to see the process for the tissue papers, please see this earlier post (link) with a process video, where I show the printing process.
As usually, I've prepared a list of materials for you should you want to create something similar or if you are just curious about a material. Links go to the manufacturer sites.
Thank you for stopping by today! Hope to see you on Saturday at 7 pm CET!
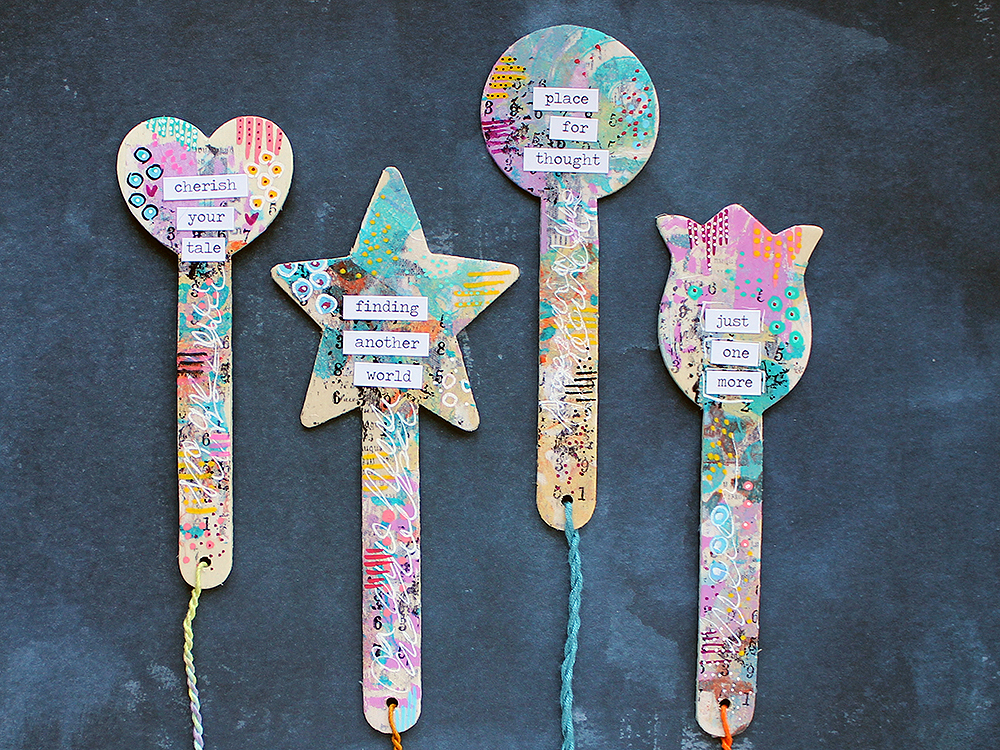
Moikka moi! It's again Friday and that means a new process video! This time I have something quite different for you - it's some mixed media bookmarks.
I saw these wooden shapes at a craft store and they seemed fun. I didn't know first what to do with them, so I left them in the store but after a plan formed in my head I went back to get them. While you could use just basic popsicle stick to make these, I thought that the shape at the end was not only fun but also allowed a message to be added. It was entertaining to find or rather, to make up the little texts to each of the bookmarks.
If you want to see how I made the bookmarks, please see the video below.
Whenever I'm doing a repetitive collage element, like the tissue paper here, I tend to go overboard and create a bigger pile at once. I mean it's so fun pulling the prints and while you have the plate out and the colors chosen, it's just having fun and making material for other projects, too! I can also share a little secret - that big pile of gel printed tissue? I'm going to be using some of it in one of this month's FB lives! I'm not going to be printing more tissue during the live but instead will refer to this video.
Thank you so much for stopping by today! Wishing you a wonderful weekend!
Materials:
GelliArts - 3"5" printing plate
PaperArtsy - Fresco Finish Lily the Pink, Deep Sea, Butter, Firebird, Summer Sky, Forget Me Not
Carabelle - Ecriture a la Plume stencil
self made stencil
StencilGirl - Seth Apter ATC Mixup
StencilGirl - Seth Apter Techno Insiders circle stencil
A.B.Studio - ID-349 stencil
Ranger - Distress collage medium matte
Ranger - Archival Ink Jet Black
PaperArtsy - Hot Picks HP2301
PaperArtsy - Minis 23
Prima Marketing - Finnabair acrylic stamp Gothic
UniPosca - Posca marker PC-5M coral pink
UniPosca - Posca marker PC-3M yellow, light blue, aqua green, fuchsia, emerald green, pink, red
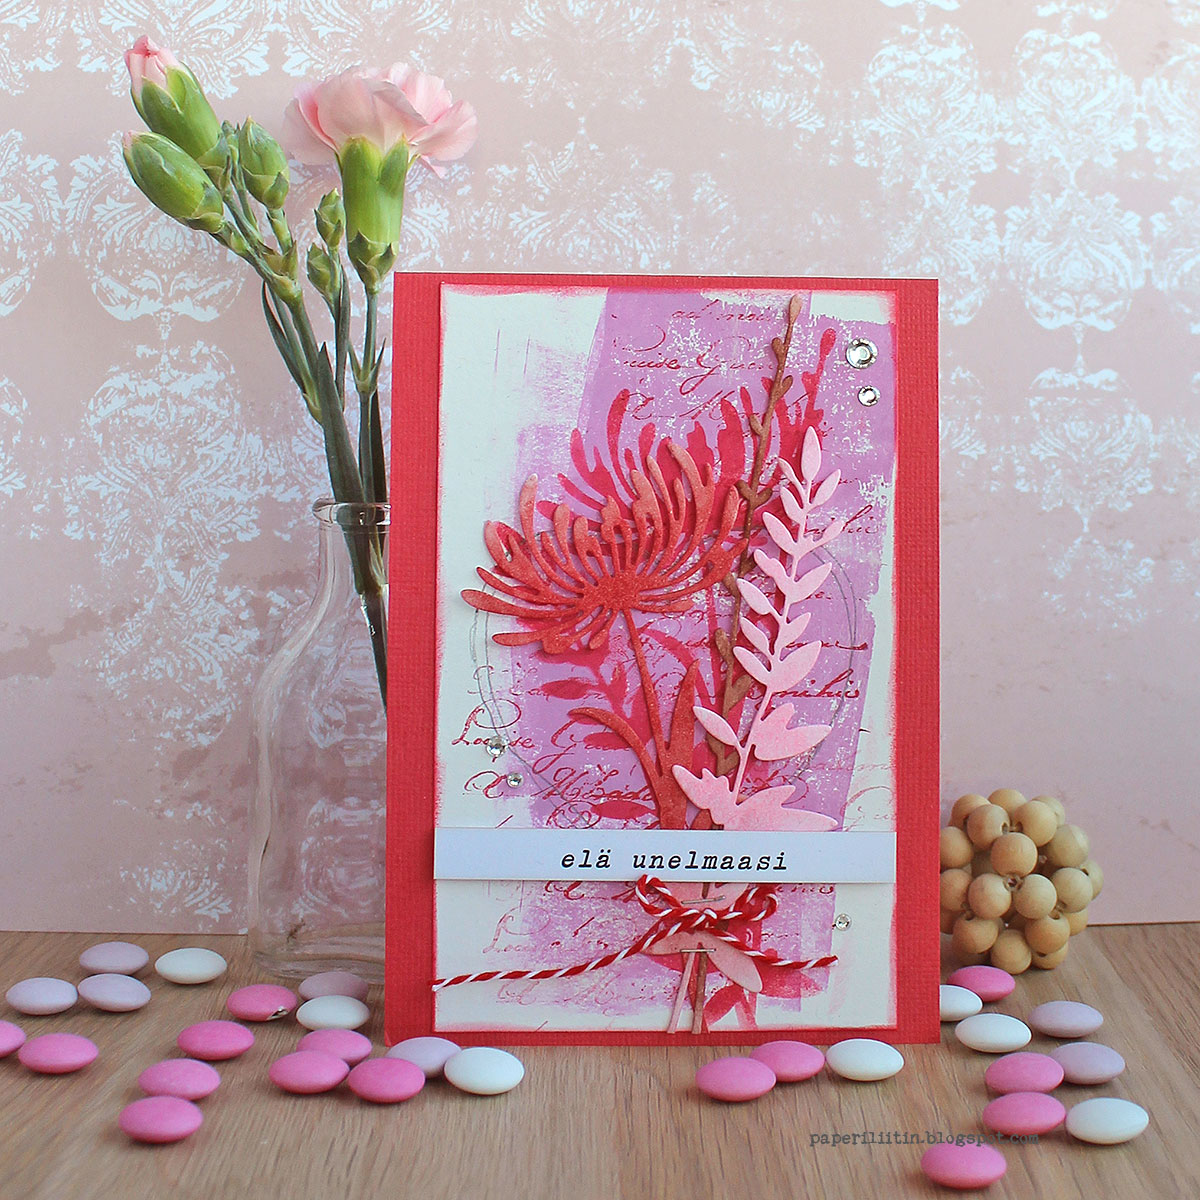
Hi there! Again, a couple of words in English and then rest in Finnish as this is an announcement post for a Facebook live I'm going to keep in Finnish. This time I'm creating some Valentine inspired cards using gel printing and then layering elements on top. You are still very welcomed to join me, just note that this time I'll be mainly babbling in Finnish. The time is January 28th, this Saturday and time 5 pm Finnish time - that's 4 pm CET.
Moikka moi! Lauantaina liveillään taasen suomeksi! Tällä kertaa tarkoituksena olisi tehdä tällaisia ystävänpäivähenkisiä kortteja. Taustaan käytän gellilevyä ja päälle sitten koristeeksi stanssattuja oksia, vähän leimailua ja lyijykynäriipustuksia.
Päivä on siis tuleva lauantai, 28. tammikuuta ja kellonaika tavallista aikaisempi, klo 17 Suomen aikaa. Paikka on blogini Facebook sivu (linkki). Mikäli et ennätä paikalle siihen aikaan kun live tapahtuu, niin nauhoite tulee aikanaan YouTube-kanavalleni (linkki).