Ship Ahoy! It's summer vibes in the air and that also means beach time for many. This is my take on vintage PaperArtsy topic with a nautical twist. I was thinking about summer parties or just home decor with these. A cottage by the sea and these on the table.
The biggest challenge in these was to mirror stamp the images so that the decorations would have two sides. Luckily a quick googling gave me an idea and I used a gel printing plate as my substrate to get the images mirrored! If you want to see the whole process, please visit PaperArtsy's blog here (link). There's a step by step tutorial there.
Thank you for stopping by today! Wishing you a wonderful Wednesday!
Materials: PaperArtsy, Sinelli, Prima Marketing, Ranger, GelliArts
Moikka moi! Easter is drawing nearer so I have one more Easter inspired project to share! Next Friday is an exception to the rule as it's Good Friday. But a week after that, on 5th of April there's again a new process video published.
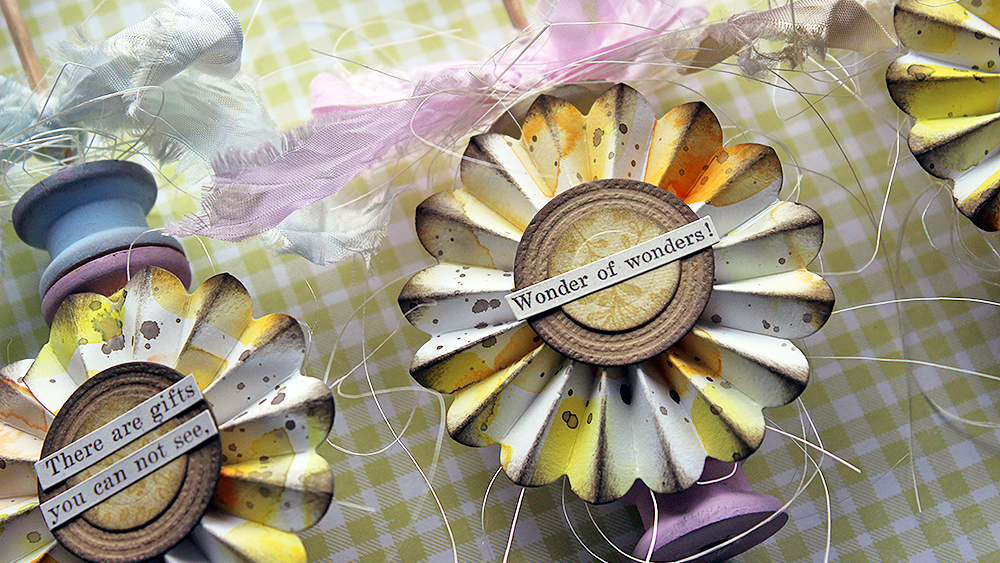
But back today's project. You may see something familiar in the very beginning as I used the extra pieces of the daffodil Easter card to cut the rosettes! Doing these kinds of decor projects is a bit problematic when it comes to the video. As I film from the top, I try to keep in mind to keep the elements flat rather than upright when working as otherwise you can't see anything! Hopefully I did ok!
As you can see from the video, I started with candy colored pastels, but added some brown into the mix. It seems that I'm not able to leave that brown ink pad alone at this time! If you prefer stronger or purer colors, just adjust accordingly. I could also be fun to make a ROYGBIV set of these decorations!
Thank you for stopping by today! Wishing you a nice weekend!
Hi there and happy new week! It's the last day of January and then my favorite month begins! I love winter time but I also love the ever increasing amount of light February brings here in Helsinki. The evenings are still dark enough for candles but during the day there's more than just two hours of sunlight. Ah!
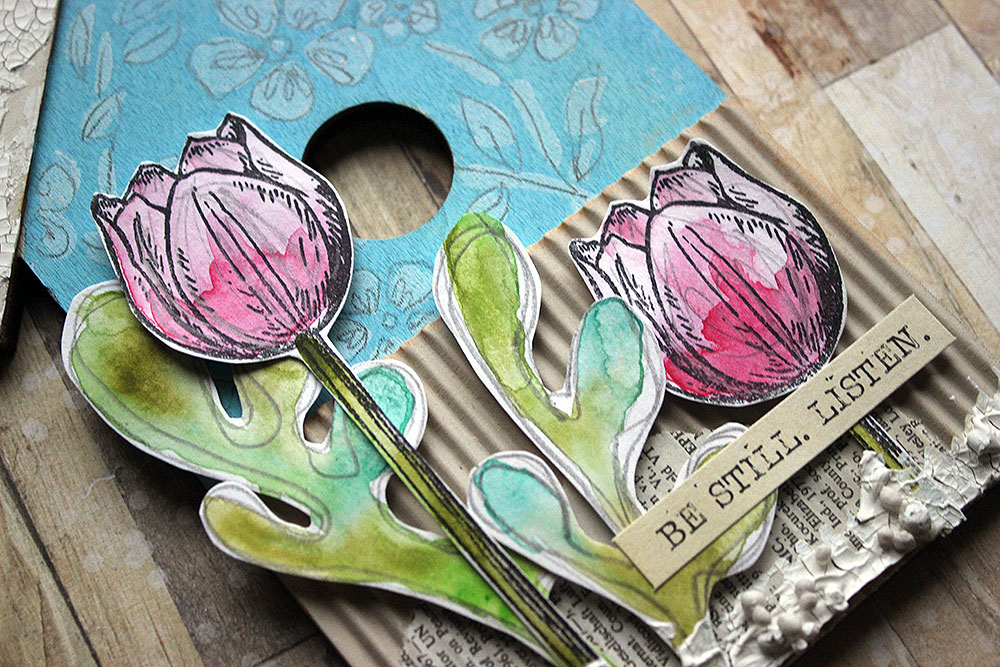
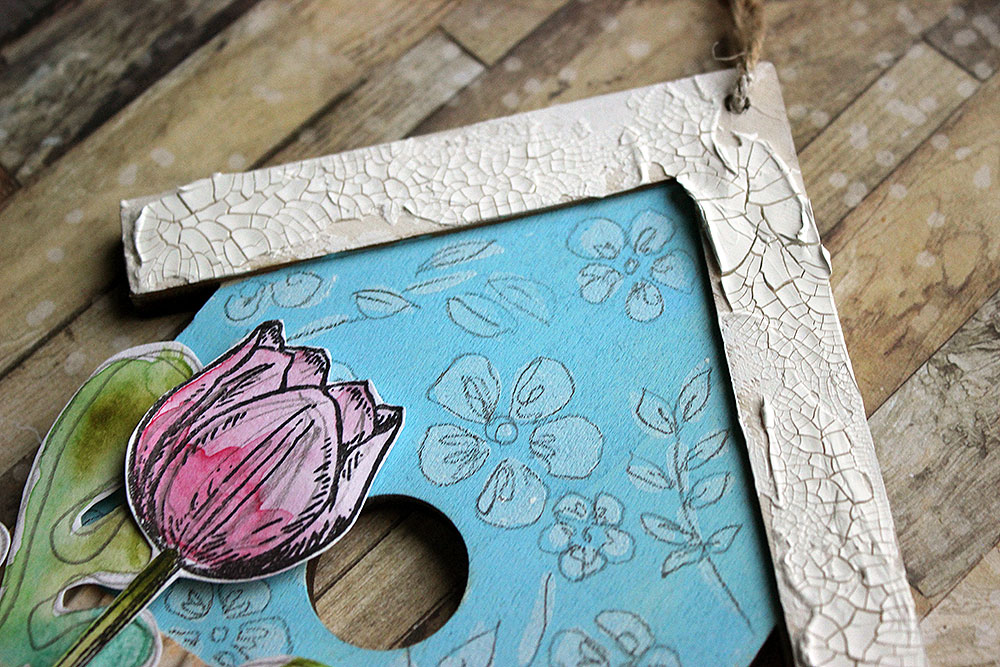
While spring starts here more like in late March or even April, the amount of light draws my thoughts to spring. And that was the inspiration behind this little project I re-created during the first FB live of the year. There's the tulips growing from the snow drifts and the whole base is like a birdhouse. If you want to see the announcement post, here's the link (link). You can see more pictures of the sample project there. Like I say during the live, I altered the project a little bit from the sample I made. You can see the two versions underneath the live recording.
I'm still not quite sure which one I prefer! I love the yellow flowers on the sample, but then again the different color to the base of the house looks cool, too. Maybe a mash up would be the thing? Like using the yellow tulips but the base layers from the pink flowery one. It also might be that every year about this time I get an urge for yellow, each spring. During any other season I'm not drawn to that color in shops, but this time - always.
Moikka! It's Christmas week already! This week is a bit irregular one, I have posts running from Tuesday to Thursday but none on Friday which also means no Friday process video. However, I will publish a FB recording in Finnish on Thursday and there will be a new video then before new year.
Today I'm sharing a project I made for a Finnish craft magazine Ihana. It's a set of three little encaustic inspired pieces where I used beeswax as my adhesive and texture medium. It's not proper encaustic bees wax, though, so these works are more sensitive to heat as there's no dammar in the mix.
If you'd like to see a step by step process to these, you need to find yourself a copy of the magazine! These are in issue 6/2022.
Thank you for stopping by today! Wishing you a stress-free week! Stay safe and sound, you all.
I’m not sure I identify with a raven, although there are some similarities. But I do love ravens and crows and feel drawn to them. I also have several pieces of art on the walls with ravens and I also use the theme in my own pieces - like here (link), or here (link). So, I decided to go with this raven or crow theme.
I had quite a vivid mental image of the project from the start. I had this idea of a printed bird with different toned feathers, kind of like a woodcut. I first thought to make the look by cutting several pieces of paper using a craft knife, but then realized I had another solution, too. It was to use my electronic cutting machine. That way I could make several birds, if I’d like. So, I sketched a bird and instead of using that as my template to cut the pieces for one bird, I scanned it to the Cricut Design Space and turned it into a cut file.
I saw the bird more like a blueish black, than just pure black. Kind of oil on the water, with different blue and green tones mirrored from the black. I first thought to colour the pieces simply by stamping repeatedly onto them but was worried that it might leave too much white showing. So, instead I laid a priming layer with gel printing. I used four different acrylic paints to have a varying layer of colour as the first layer, but in the end those different tones get lost underneath everything.
I started with gel printing and a more or less a solid layer of colour but added pattern later. Again, I had two options, pattern the print before cutting or then after cutting. Before cutting would mean that I’d pattern the pieces blindly, not sure what would come and where. But if I’d add patterning after cutting, I could be perfectly in charge what pattern and where. The only possible problem was then to keep track of each piece to get them to their places again. The solution proved to be easy – just cutting the bird twice and using the other cut as a stencil!
As you could see from the video, I used three different ink colours when patterning the pieces as well as three different stamps or stamp sets. When I wanted a darker spot, I used a more solid stamp and when I wanted lighter texture, I used a more detailed, more like a line design version. For example, I used the “Love Knots” for the black parts and “Queen Anne” for the down-like details. I also placed some stamps from the FAN-tastic set in particular places, like the “Broadway fan” in the wing and “Van Vorst Fan” to the legs. As you can see from the finished piece, I chose to do the wing quite dark, using black ink, legs pale using blue ink and other parts with grey or mix of two inks.
Like I say in the video, after making the bird almost just the way I saw it in my head, the whole thing looked too clean for my taste. Luckily, there was an easy solution of splashes! I opted for watercolour rather than acrylic as I thought it to be more forgiving and lighter. Also, I could remove some of the splashes on top of the bird as the acrylic blocked the watercolour from soaking in. While I wanted the stamped texture to be as much visible as possible, I did add some drawn details here and there as the last touch.
The bird turned out quite ok. It’s a bit bluer than I originally thought and the beak is too narrow for a raven, but still, I like it. Yet another raven piece for the living room walls!
Thank you for stopping by today! Stay safe everyone and have a nice weekend!
Moikka! Today I'm sharing something I created for the latest issue of Ihana magazine (link), a Finnish craft magazine. I made some eggs inspired by my grandmother's old mirror.
The other inspiration source for these shiny, silvery eggs, was mercury glass and I tried to somewhat mimic it with the materials and mediums I used. The bases are just new plastic craft eggs, but then I added several things on top to make them look more old and worn. I think in the end they turned out nice!
If you want to see a step by step tutorial on these, you need to get yourself the Ihana 2/22! You can order the magazine from the website (link), but please remember it's in Finnish. Past issues can be found here (link). There's a lot of detail shots at the end of the post if you wish to see more of the eggs and their details.
Thank you for stopping by today! Wishing you a peaceful Thursday! Stay safe everyone!