
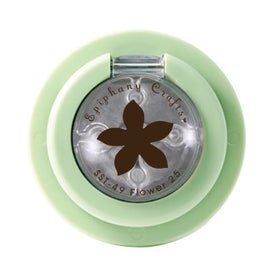
Hello there readers! Today I'm sharing a card tutorial using the Epiphany Crafts Flower Tool. You can see the original post here at Epiphany Craft's blog (link). The Flower Tool is also the tool of the month so you can grab it to yourself with a discount prize!
Christmas is the season of giving. There's cards to be sent, a little gifts to be made. I usually craft cards one by one but every year the Christmas cards are another story. For those I make up an assembly line and my kids and me work together creating similar cards for all the receivers. Every year I think that next year it might be different, creating unique ones to every one but somehow the assembly line is a tradition of its own.

Punches are great way to make cards as you can easily create a large amount of the same shape. What's also nice that kids can use them too! Punch shaped like a flower like the Epiphany Crafts Flower tool are handy as you can create all sorts of flowers with it and scissors. This dawned to me while visiting a friend who makes a lot of handmade flowers to her cards. Just by altering the shape of the petals a little can produce a multitude of flowers. For this tutorial I created poinsettias in the spirit of Christmas. Just follow the steps below and create a card or tag in no time.

Start by punching out the flowers. Every poinsettia needs four of them. You can use white cardstock or colored ones but you'll need three shapes of the color of the flower and one green. Using a ball tool shape the petals dimensional but leave the leaf flat.

Shape the top most layer of the flower with the scissors. Poinsettia has the petals separate so mimic that shape by cutting the shapes deeper. Then layer the shapes on top of each other using the leaf as the base and the petals on top. Stack the shapes so that the petals show underneath each other, turning each layer slightly. Use glue to adhere the layers. Then use Liquid Pearls of equivalent to create the stamen of the flower.

While the flower dries create the wreath. Use a wreath stamp or just draw the wreath by hand. You can use a leafy, spring like wreath as well as you can alter it a little. Start by inking the wreath with Distress Ink or equivalent, water re-active ink. Then spray the stamp lightly with water and stamp the water-color style image to your card. Add a few flicks of water and let the ink bleed a little.

Using different tools add needles to the wreath. Start by using a water brush and the ink you stamped with. Then move on to a pencil and also fine felt pens if you wish. To me pencil was the best tool for the needles.

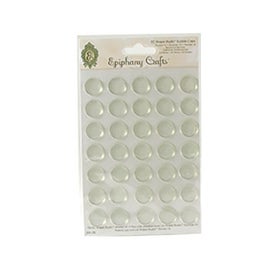
Create a few embellishments for the wreath also. Use an office hole punch and create little golden circles to decorate the wreath. Using the Epiphany Crafts bubble caps create see-though ornaments by adding golden thread underneath the shape and trimming the excess of with scissors.

Glue the poinsettias and other decorations to the wreath. Finish the card with a hand-drawn frame around the edge. I used a golden gel pen and a pencil.

Here's the finished card in white and below you can see the red version. I hope you have enjoyed the tutorial! Thank you for stopping by today!

Materials from Epiphany Crafts:

Materials: Epiphany Crafts, Ranger, Copic, Design Memory Craft, Sakura, Fiskars, Wow Embossing Powders
1 comment:
ohh wow, love the poinsettia, Rikka. I have this flower punch, and never thought of using it like this. Thanks for sharing great idea and tutorial.
Your creations are awesome as always!!
Post a Comment