
Hi there! It's a whole new week and I have a layout with a step by step tutorial to share with you. The layout is done for A Flair for Buttons. This page is actually done in co-operation with my daughter. Let me tell you why.
Last month my older daughter turned nine. I try to do a layout every now and then and document what my daughters think and what's their favorite colors, for example. So I took a little note card and got asking my daughter. I included the card in a vellum pocket behind the photo. I also wanted to use my daughter's favorite color at the moment (yellow) and her own hand-writing in the page.

I started by doing a mixed media inspired background and then continued to layering and embellishing. As it's kind of a birthday page, I wanted to use happy colors in the page. If you want to see how the page was made, please see the step by step tutorial below!

Step 1. I started the page by adding some yellow acrylic paint to the patterned paper and dried it. Then I passed the page to my daughter and asked her to write anything on it. Just to get her own handwriting in there.

Step 2. Next I added some stamping to the page. Fist I added some yellow circles and then black script using two different stamps and inks. Then I added a piece of patterned paper to the page to back the composition coming on top.

Step 3. Time to make the composition! I cut random pieces of patterned papers with the paper cutter, layered them behind the photo and stapled the layers together. One of the layers is a vellum pocket, which I was careful not to staple shut. Then I adhered the photo on top using foam dots and the cluster to the page with dots, too.

Step 4. Time to add the lovely flair buttons! I gathered some flairs that would fit the theme and go to the page and then tried different ones here and there. I also added a paper clip to the photo to bring dimension on top of the shot as well.

Step 5. Next I added a title. I was missing all the Es of my alphas and didn't want to use a three to replace one this time so I added a multitude of nines as the title. I used black and white together with the yellow.

Step 6. I finished the page with the hand written journaling and some little drawings here and there. The main journaling is in the vellum pocket but I added some text visible as well.

Thank you for stopping by today! Wishing you a lovely day and great start to the week! May it be a happy one!

Sets used:
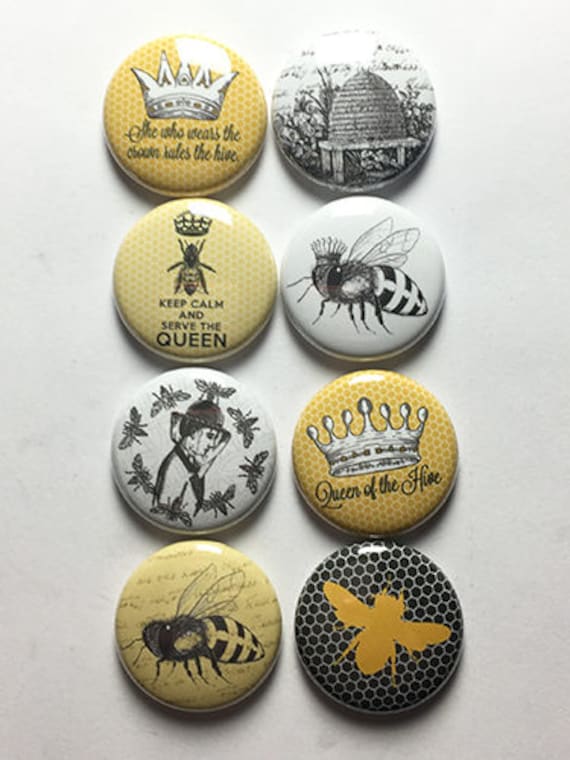
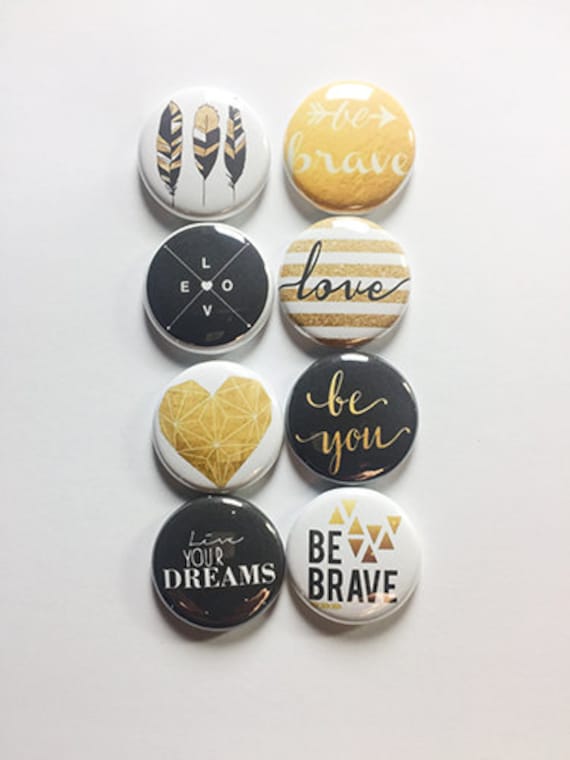
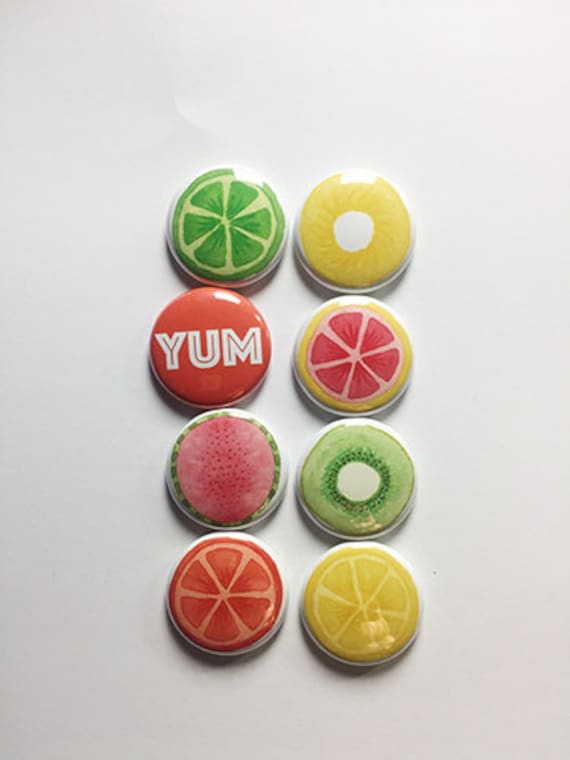
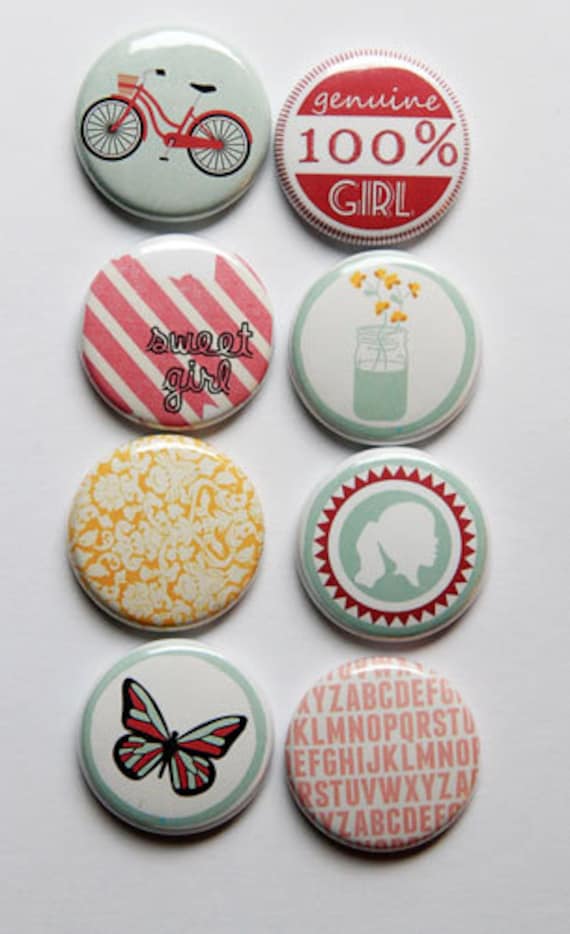

Materials: A Flair for Buttons, 7 Dots Studio, Elizabeth Craft Designs, Doodlebug Design, American Crafts, Prima Marketing, Ranger

1 comment:
Kaunis ja ihanat värit.
Post a Comment