
Sweet Saturday! Summer seems to be a time for parties at least here in Finland, so I thought to make some candy boxes using the Sizzix "Diamond Box" die. I've admired it some time, but haven't had the nerve to try. But it was really easy after you got the hang of the construction! The die seems to be on discount at the moment, just a hint! You can see all the offers and what's new at Sizzix in their home page, here (link).
If you've been following my blog for some time now, you've probably noticed that I love mediums. So I couldn't do these boxes without some as well. I also took some step by step pictures along the way if you want to make similar boxes!
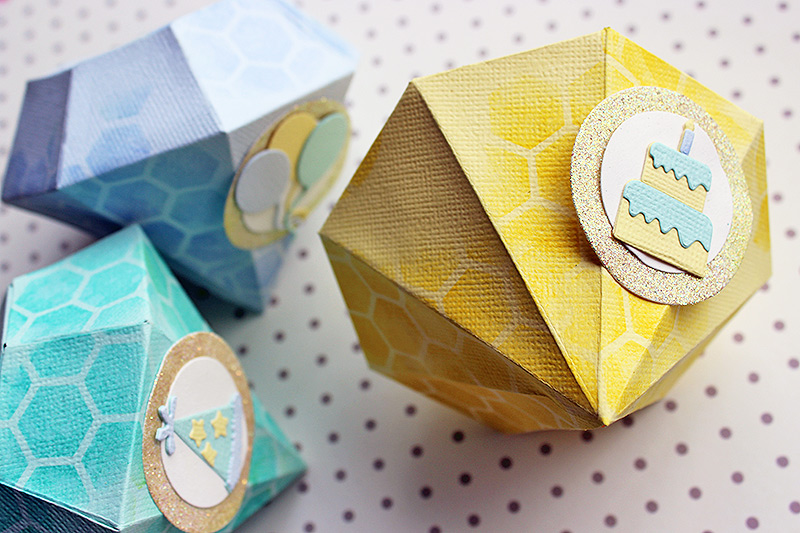
I made the diamonds using a pastel color scheme, but changing the colors and embellishments really changes the tone. You could use this to make wedding favors, too. Or to a princess party for kids. Or a pirate party with treasures to be found!
There's also a lot of ideas using Sizzix dies, including this one, at Sizzix site (link). You can browse by designer, machine or even type in the die you have to see the ideas for that particular one! In the site there's for example two other gift box ideas for the diamond die, but I've seen it used to make soap, too! But without further ado, here's how I made these pastel boxes.

Step 1. Using the "Diamond Box" die, cut several boxes out of cardstock. I wanted mine to match so I used pastel colored sheets with analogous color scheme from the Making Essentials Cardstock set.

Step 2. Using half a sheet from the Making Essentials Stencil Film pack, make yourself a stencil. I chose to use the "Hexagon" die as it's shape fitted the diamond theme and reminded me about facets in diamonds. Ink the boxes here and there using a matching shade of Distress Ink - green for green, yellow for yellow and so forth.

Step 3. Give the boxes a little spritz of water and let them dry thoroughly before starting to fold. Water activates the ink and creates little "sparkles" to it. Paper is really fragile while it's wet so better to work on dry paper. Start to fold the diamond carefully. Leave the tops last so you can add the candies inside.

Step 4. Fill the diamonds with candies and gently adhere the cover shut as well. Die cut the embellishments for the boxes using "Birthday" set from Sidekick series and circles in two sizes using "Circles" Framelits dies. Use the same color scheme as in the boxes. You can also use the "left overs" from the first cut as the "Birthday" dies are so small. Waste none!

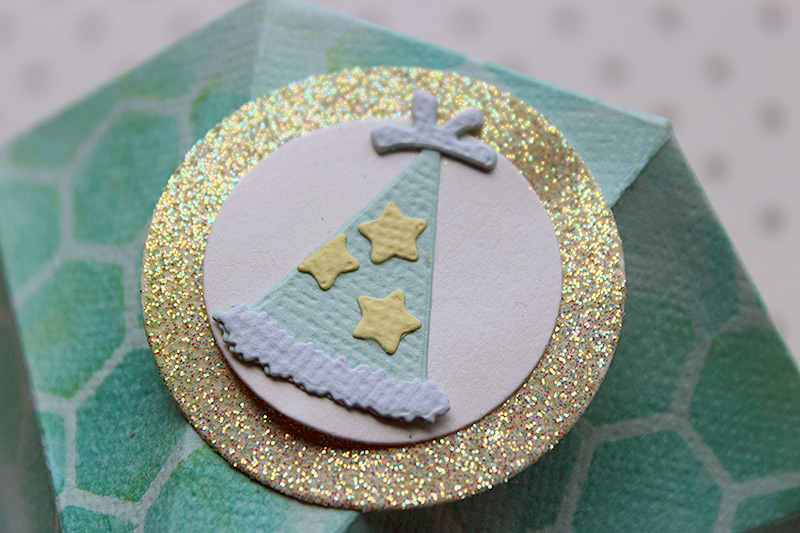
Step 5. Make the embellishment "seals". Emboss the bigger circles using embossing glitter or paint them with gold paint. Layer the smaller circle on top. Layer and put together the little items you cut using "Birthday" dies - like the cake, the party hat and balloons. Adhere the items to the seals.

Step 6. Finish the boxes by adhering the embellishment seal you just created to the boxes. If you want to embellish them a bit more, you can also add a piece of ribbon in a loop shape underneath the seal. Then it's party time!
Sizzix supplies used:

Materials: Sizzix, Wow Embossing Powder, Ranger

No comments:
Post a Comment