
Hi there and sunny summer time! Today I'm sharing another guest project for Elisabeth Crafts Designs. You can see the original post here (link) at the company blog.
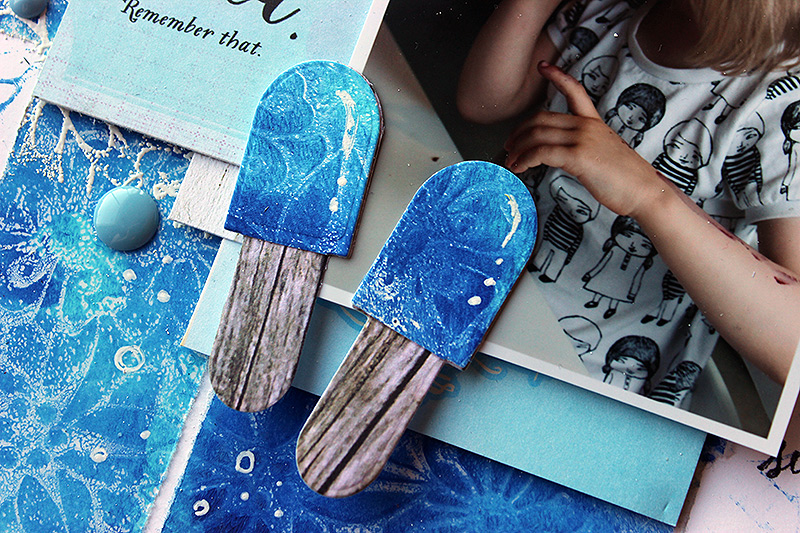
In my first guest page the topic was my older daughter so just to be fair I wanted to have my younger daughter as the star of this page. My inspiration for this page was the die set “Banners”. When I started to look at the rounded banner it turned into an ice pop in my eyes and I thought to make a fun summer page.
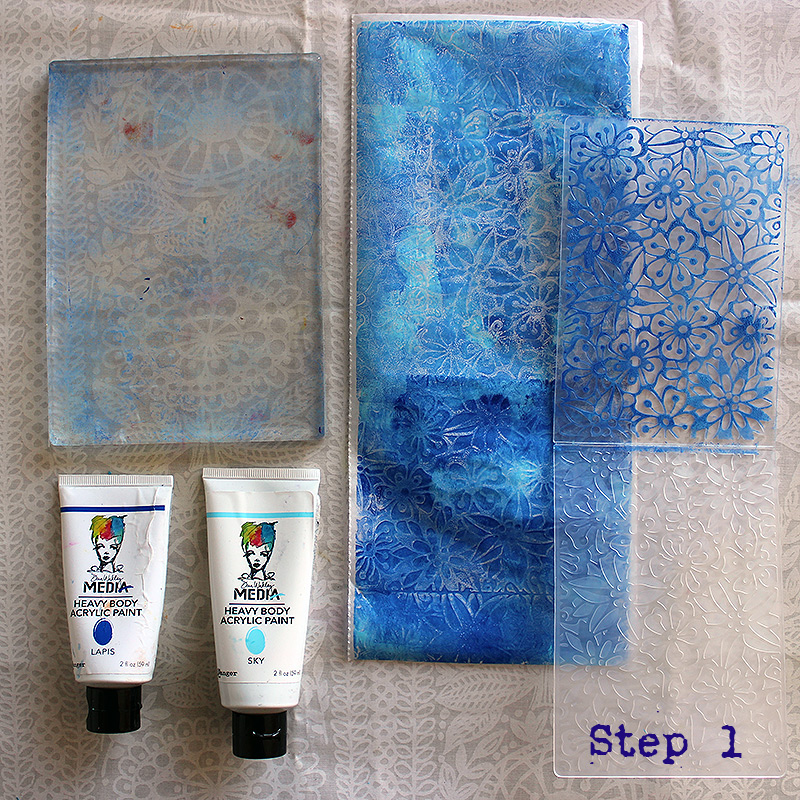
1. Start by making a piece of patterned paper. Use freezer paper or something similar, thin paper. Make a monoprint with acrylic paints and Gelliplate, use "Bouquet" embossing folder to remove some of the paint from the printing plate, like a stamp. Print also a tiny piece of white cardstock, you'll need it later. Remember to clean the folder with water soon after use!
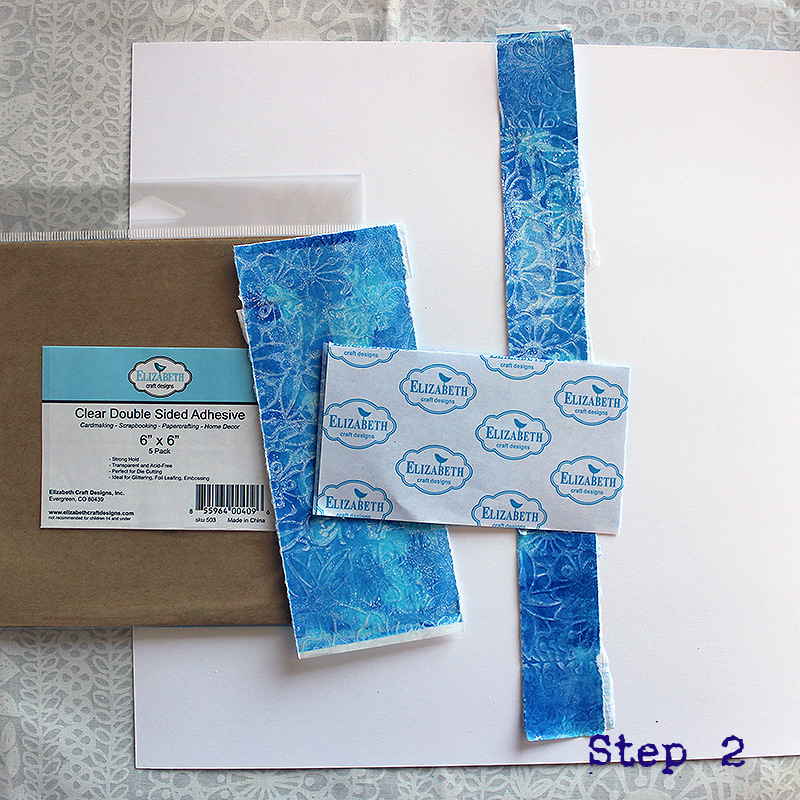
2. Adhere the 6x6 adhesive sheets to the back of your paper and then tear the freezer paper into pieces. Use a ruler as a guide so you get a somewhat straight but torn edge. Take a 12x12" sheet of the Soft Finish cardstock and use it as your background.
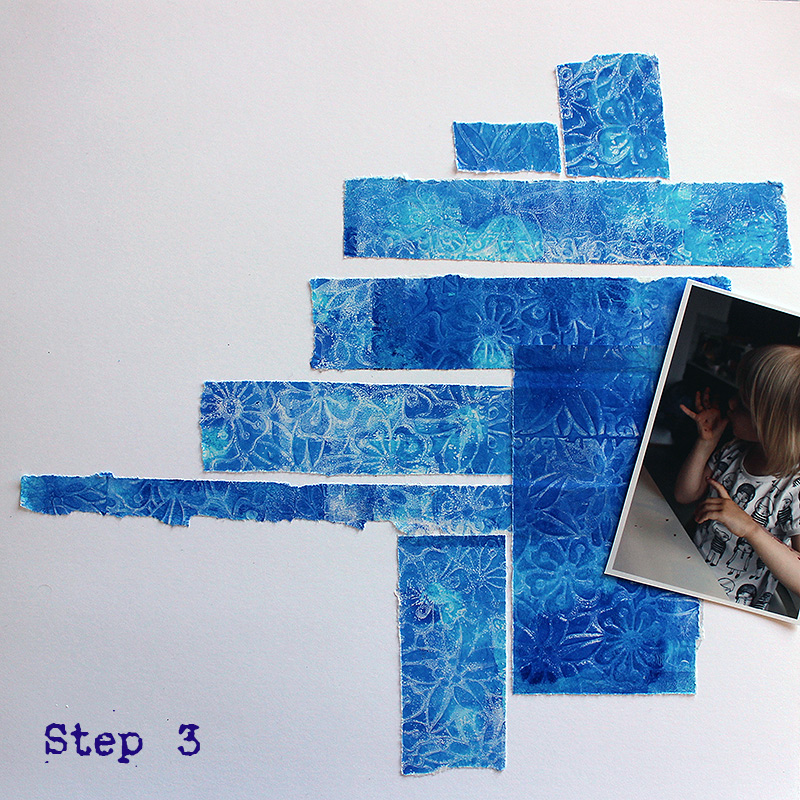
3. Think about your composition and adhere the paper pieces to the background. Cover only a part of the 12x12" sheet so there's white areas still showing. Use a variety of sizes and shapes of the paper pieces.
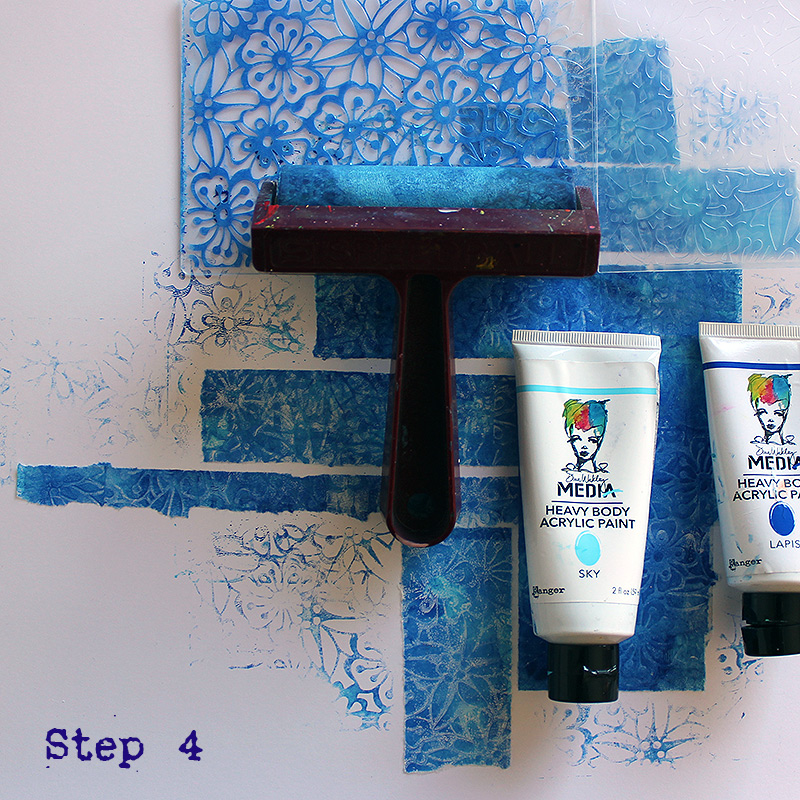
4. Use the "Bouquet" embossing folder again like a stamp. Add some acrylic paint to your craft mat and use a brayer to get the paint to the folder. Then press the folder to the background thus getting an impression of the design. Stamp around the area where you attached the paper pieces.
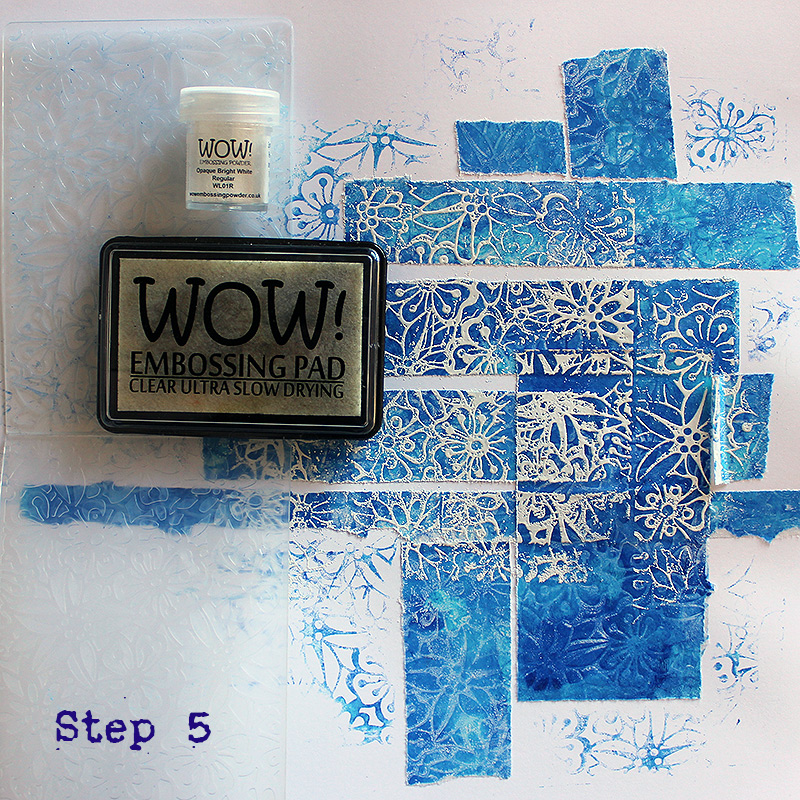
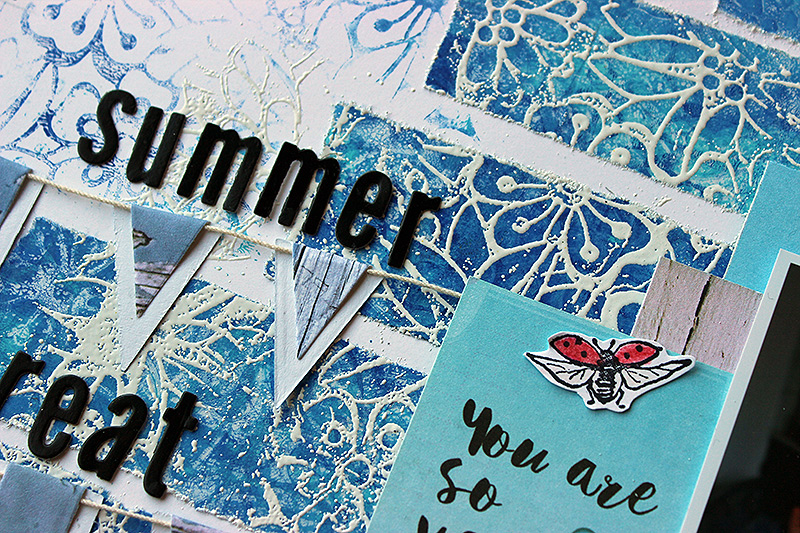
5. Use the folder like a stamp once more, this time using ink. Dab the embossing ink to the folder and then press it to your background. Repeat if you want to cover a bigger area. Use white embossing powder and emboss the design with it. Remember to clean the folder again!
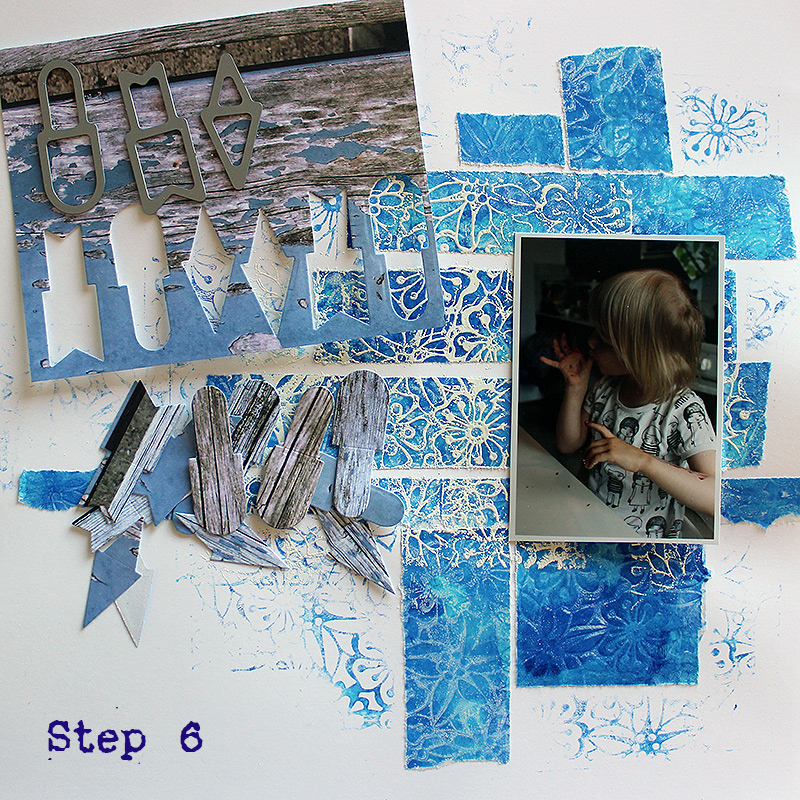
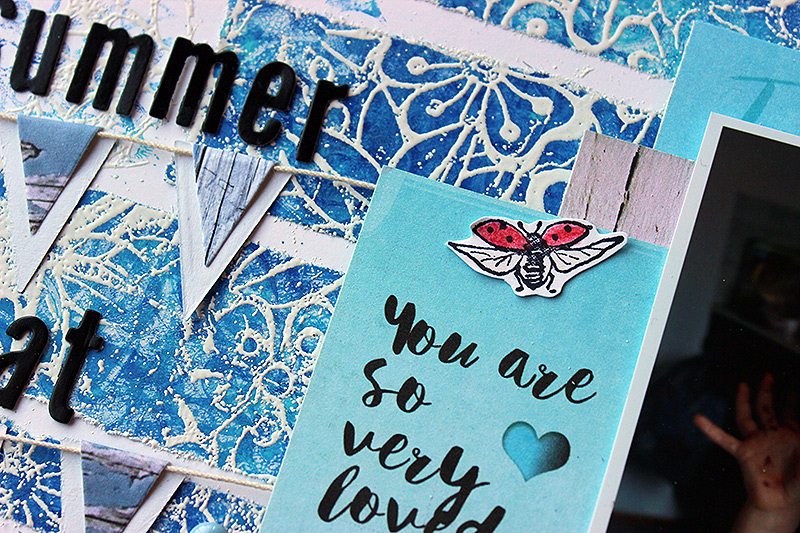
6. Now that the background is done, it's time to concentrate on the design, photo and embellishments. Using the "Banner" dies and "Through the Lens Patterned Cardstock Wood" cut several of the banners in the color scheme of your page. Make sure you cut a couple of the round ones with the wood grain pattern.
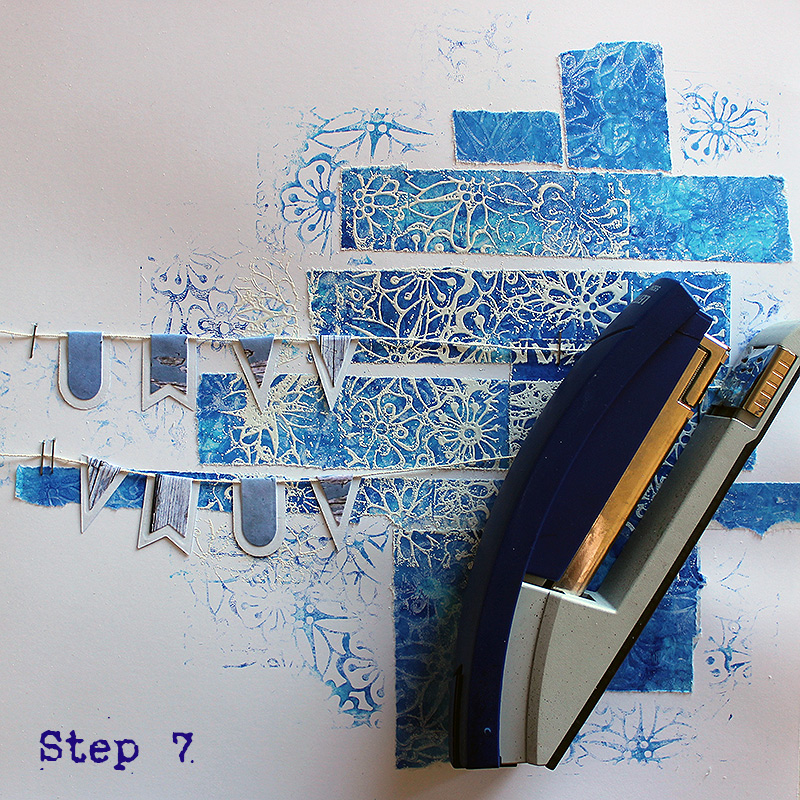
7. Make two lines of banners using the cut shapes and some cotton twine. Glue the banners in place with the twine between the parts. Staple the lines in place so that they start from the edge of the background and run under your photo. While you have the stapler out, make also patterned paper layers behind the photo and staple the layers together.
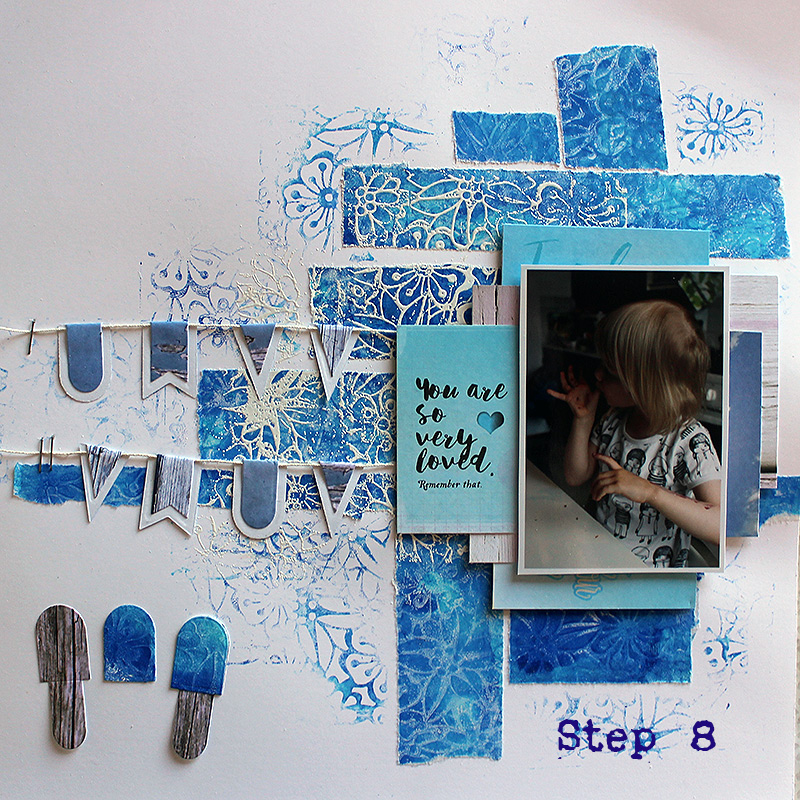
8. Attach your photo to the paper layers and then the cluster to the background using foam dots. Cut two "ice pops" from the patterned cardstock you made in step 1. Compose the ice pop by layering the blue part on top of the wood grain patterned big piece and adhere the layers using a piece from the 6x6" Adhesive Sheet. Voilá, you have created an ice cream! Attach the embellishments to your page using glue.
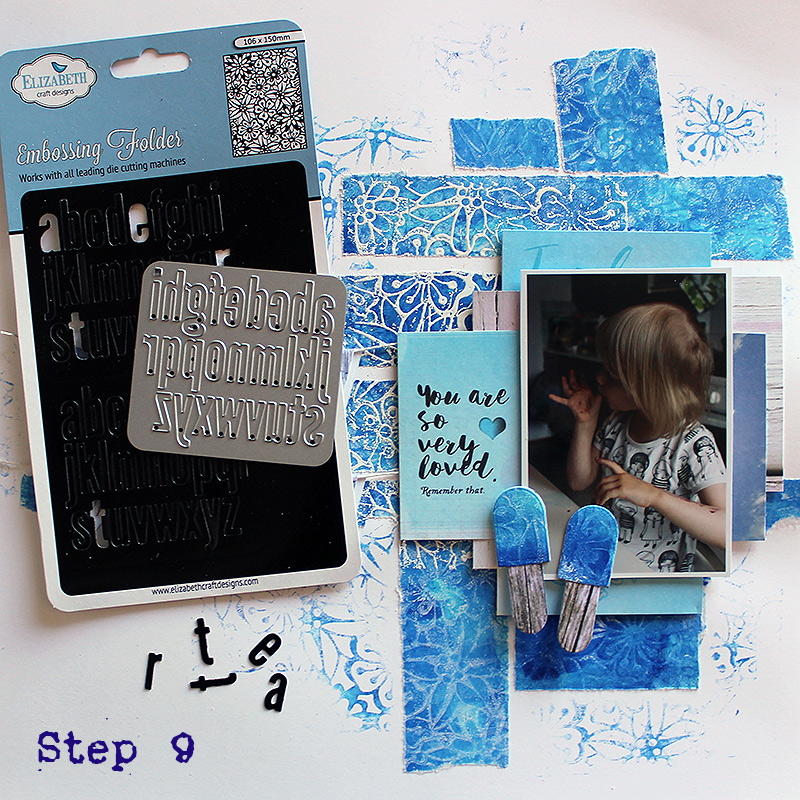
9. Cut two sets of alphas from the embossing folders packaging using the "Alphabet 2 Lower Case" die. Compose your title on top of the banner lines with the letters dancing rather than being on straight lines. Glue the title in place.
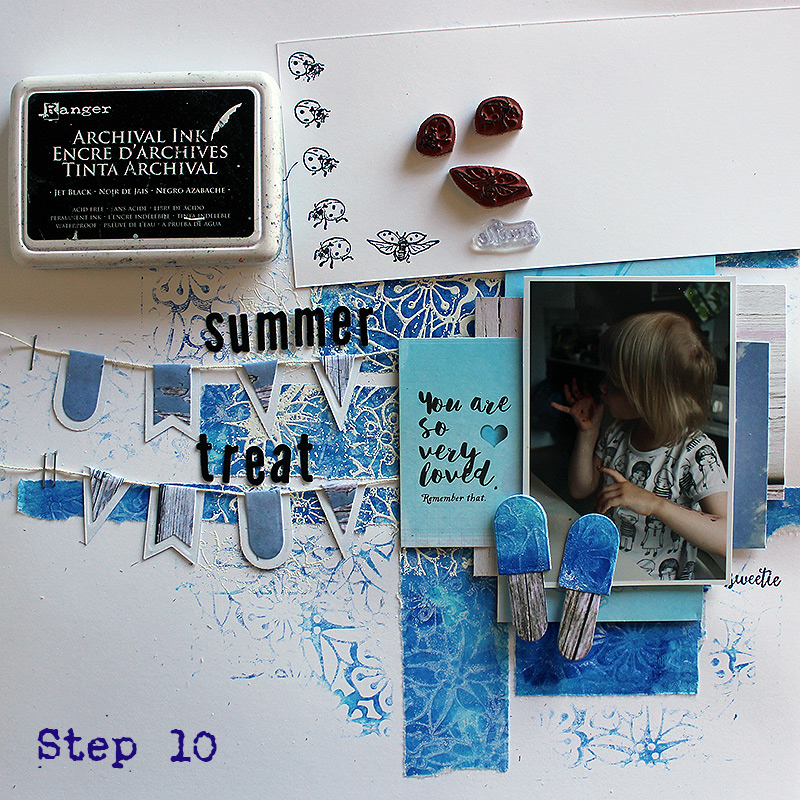
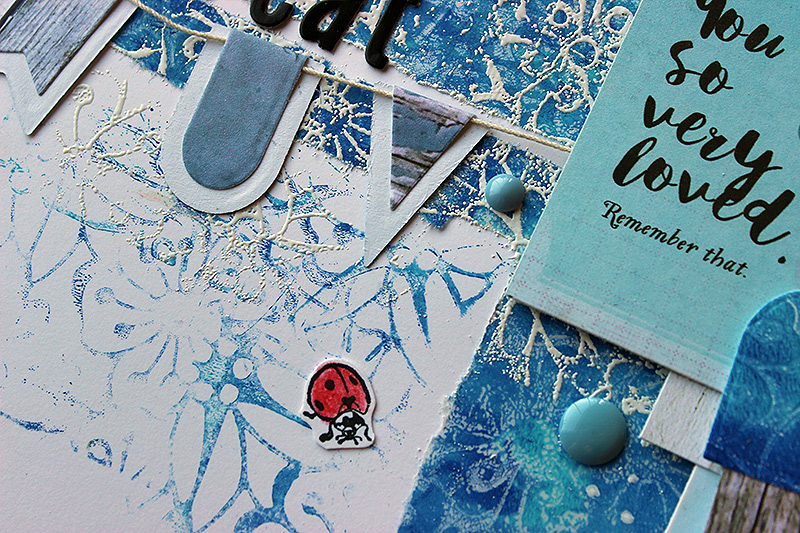
10. Stamp the word "Sweetie" from the "Just a Note" stamp set to your background near the photo. Stamp also a couple of ladybugs from the "Ladybug Quartet" set to a piece of white cardstock.
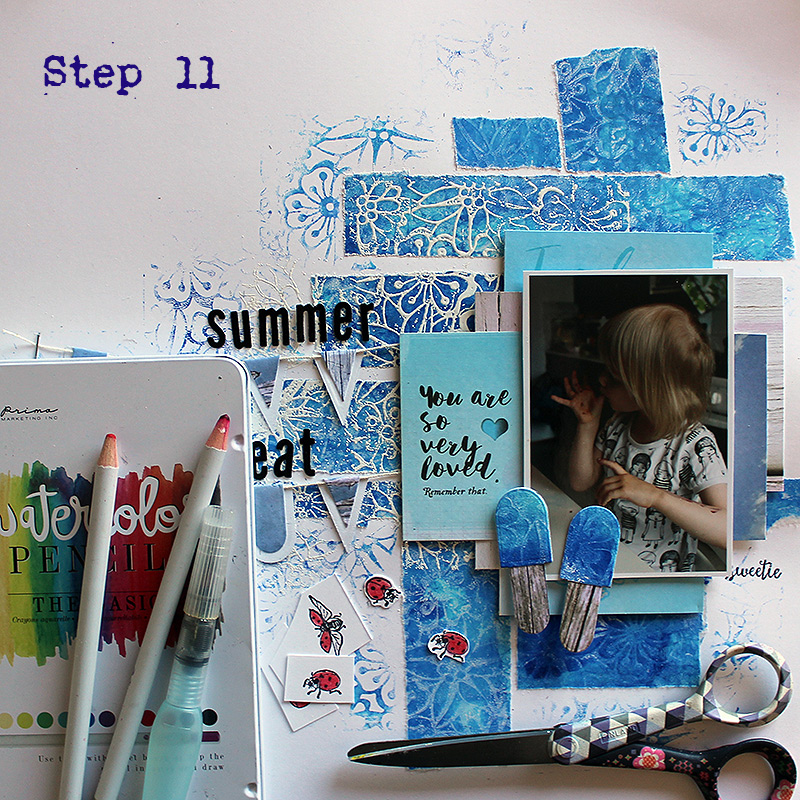
11. Color the ladybugs using watercolor pencils and then cut the bugs loose and use them as embellishments. Scatter the bugs to the page and glue them in place. Add also a red and white flair button to the page.
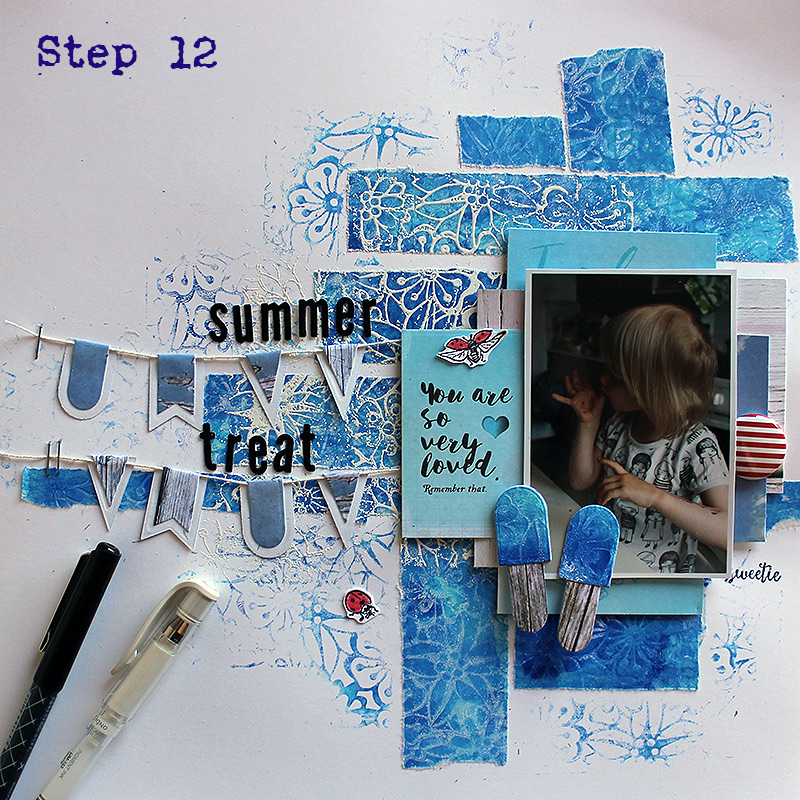
12. Using white and black pen to add small doodles and the journaling to your page. Think about the composition and how much text you want to add. I chose to draw lines to the left side of my page and add my journaling there.

13. Finish your page with a couple of epoxy stickers. Use the same color scheme you have used throughout the page.
Thank you for stopping by today! I hope I have showed with this layout that there's more you can do with an embossing folder than just use them with your die cutting machine! Wishing you a lovely weekend!
Supplies:
Elizabeth Craft Designs:
Other:
Printing plate (GelliArts - 5x7" Gel Printing Plate)
Acrylic paints (Ranger - Dina Wakley - Lapis and Sky)
Embossing ink (Wow Embossing Powder - Clear Ulyta Slow Drying Embossing Pad)
White Embossing Powder (Wow Embossing Powder - Opaque Bright White)
Patterned paper (7 Dots Studio - Verano Azul - 6x6 Pad)
A flair button (A Flair for Buttons - Stripes 1)
Archival Ink (Jet Black)
Epoxy stickers
White twine
Foam dots
Black and white thin marker
Materials: Elizabeth Craft Designs, GelliArts, 7 Dots Studio, Ranger, Wow Embossing Powder, A Flair for Buttons, Prima Marketing, Sakura
1 comment:
What a beautiful and happy page, Rikka, and an adorable photo.
Post a Comment