Showing posts with label joulu. Show all posts

20/10/2023

Winter birds - Paper Garden


From autumn to winter - like in a cartoon! Well, there was one day between these posts. But hey, hey, it's Friday and a process video time! As you can see from the picture above and the title, this time it's some winter cards with Paper Garden supplies.

While the texts in the cards bring these to Christmas, I didn't want to call them Christmas cards. Why? Because just by leaving the text out or changing it, these could be a winter wish or a Holiday greeting of other sort. If you want to see how I made the cards, please see the video underneath.


It was fun doing the other card vertical and other horizontal. As you could see, I used similar elements in both, just chose a different focal point to each to match the orientation of the card. 

I'm not sure if you have noticed, but I'm doing things a bit differently this month. Some of the videos are with texts and music, some with less text and a voice over. Please tell me how this works for you and which one you prefer! 

Thank you for stopping by today! Wishing you a lovely Friday and beautiful weekend!


Materials from Paper Garden:
Sheets from previous kits
(similar items in these printabes "Winter Magic" and "Vintage Christmas")
Now retired stickers (the circles and sentiments)

Others: 
Ranger - White embossing powder
Ranger - Distress Ink Vintage Photo, Faded Jeans
Stampendous - QS5043 stamp
Tsukineko - VersaMark ink
PaperArtsy - Fresco Finish acrylic paint Snowflake
Sinelli - wax seal stamp
blue and kraft cardstock
twine
paper cutter, scissors, ruler, stapler, inking tool, heat tool, brushes
foam tape, double sided tape, craft glue


22/12/2022

Girl in a closh - FB live recording


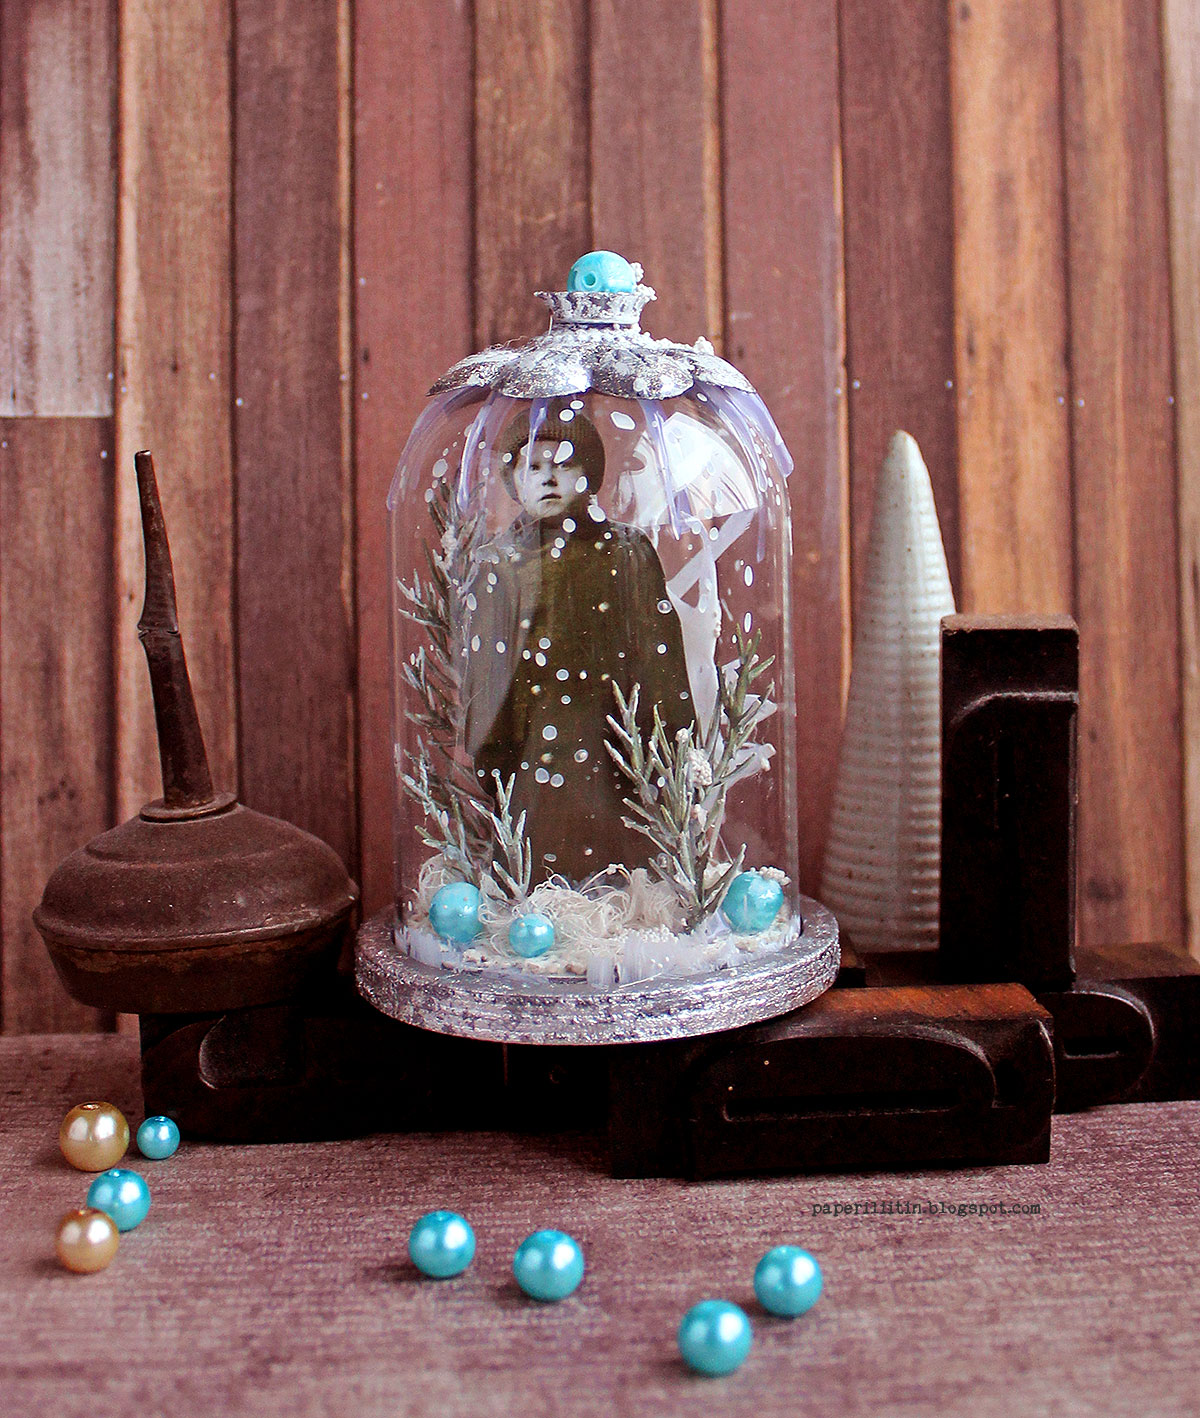
Just a couple of days until Christmas! Today I'm sharing a little decorated bell dome I created during a FB live last week. This will be my last post this week as I start to prepare for the Holidays. Next time there's something in here on the 27th. 

I have included the recording of the live in this post, but I kept the live in my native tongue, Finnish. They do say that a picture tells a thousand words, so maybe you're able to follow the process even if the language seems strange. And of course, you can ask me to clarify things! But just a quick info, just in case. 


I started to decorate the dome by painting the wooden base piece as well as a couple of Mechanicals with a silver paint. After the paint was dry I then added some silver metal flakes on top creating a feeling of a worn piece. Or at least that's how I see it with places more shiny than the others. I then used hot glue gun to pipe some snowy tree like shapes to a non-stick surface and let that cool. In the mean while I added white gesso to the center of the wooden piece, then a piece of lace and another layer of gesso. On top of the lace I added some gauze, too. This was to add different textures to the piece but also in my eye those fabric elements add some vintage feel to it. I also adhered the two metal embellishments on top of the dome part using hot glue and finished the look with a pearl. The lines with the hot glue were to convey the idea of icicles. 

As the last part was the whole assembly - adding the little character inside and making sure she fits in there. Then I built a little scenery using faux tree branch pieces, the self-made, now gesso painted trees and some pearls. As the last detail I added gesso and Mini Art Stones to a palette, mixed them together and thus created a snow paste to add here and there. Oh, and some splashes for the dome and character. We need to have a little bit of falling snow, too.

If you want to see more photos of the sample piece or a materials list, please see the announcement post here (link).


With this project I wish you all jolly Holidays or just lovely weekend if you don't celebrate! Thank you for stopping by today, all the best to you and yours!


Materials: Prima Marketing, Sinelli, J.K.Primeco, Tim Holtz


13/12/2022

Poika nimeltä Pyry - FB live


Hello there and happy new week! I switch to Finnish again for this post as it's a FB live announcement. I'm keeping this live in Finnish on Friday but you are very welcomed to join anyway and ask questions also in English! The time is 7pm CET, 8 pm Finnish time. 

Heippa hei! Perjantaina olisi vuorossa suomenkielistä liveä, kun teen jotakin tämän kuvun tyylistä. Kuumaliima on taasen käytössä, mutta ei vaan liimaamiseen, lumiainetta sekoittelen kahdesta osasta ja sitten olisi tarkoitus vähän foliointia käyttää kupusen koristeluun. Aika on klo 20 Suomen aikaa ja paikka Paperiliittimen oma FB sivu.


Jos haluat askarrella samaan aikaan jotain vastaavaa, niin ainekset tähän on listattuna tuossa alhaalla. Linkit menevät Korttipajan sivuille. 

Ei muuta siis kuin glögit lämpiämään, piparit lautaselle ja tehdään yhdessä pieni talvinen kupu. Toivottavasti perjantai-illalla nähdään! 

24/11/2022

Holiday cheers - a FB live recording


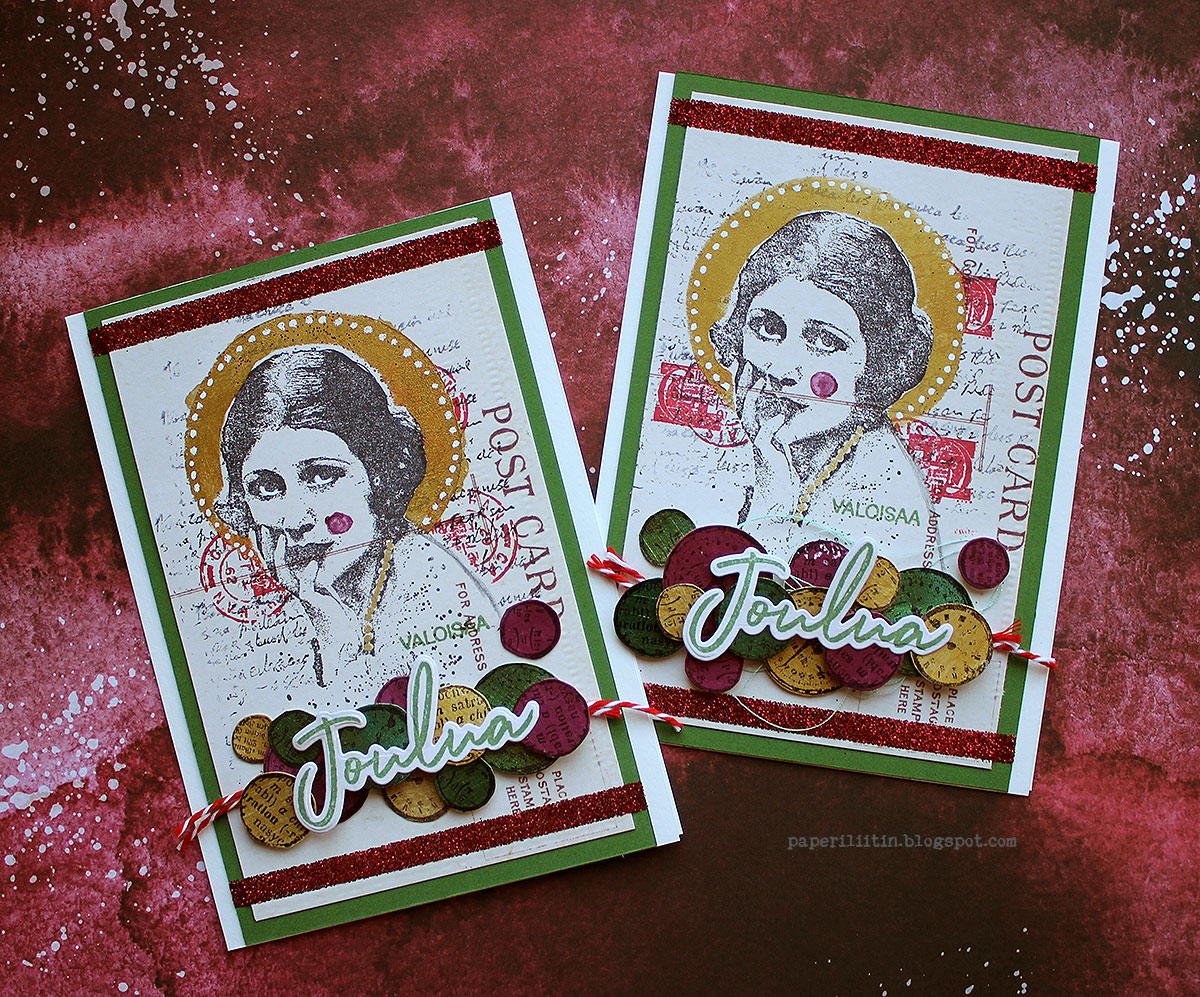
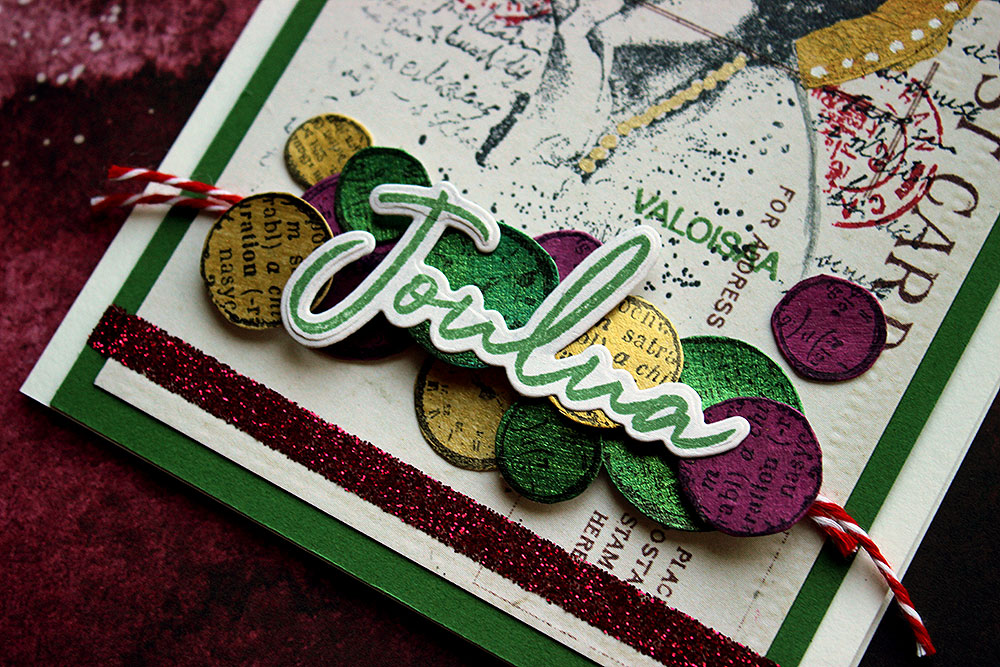
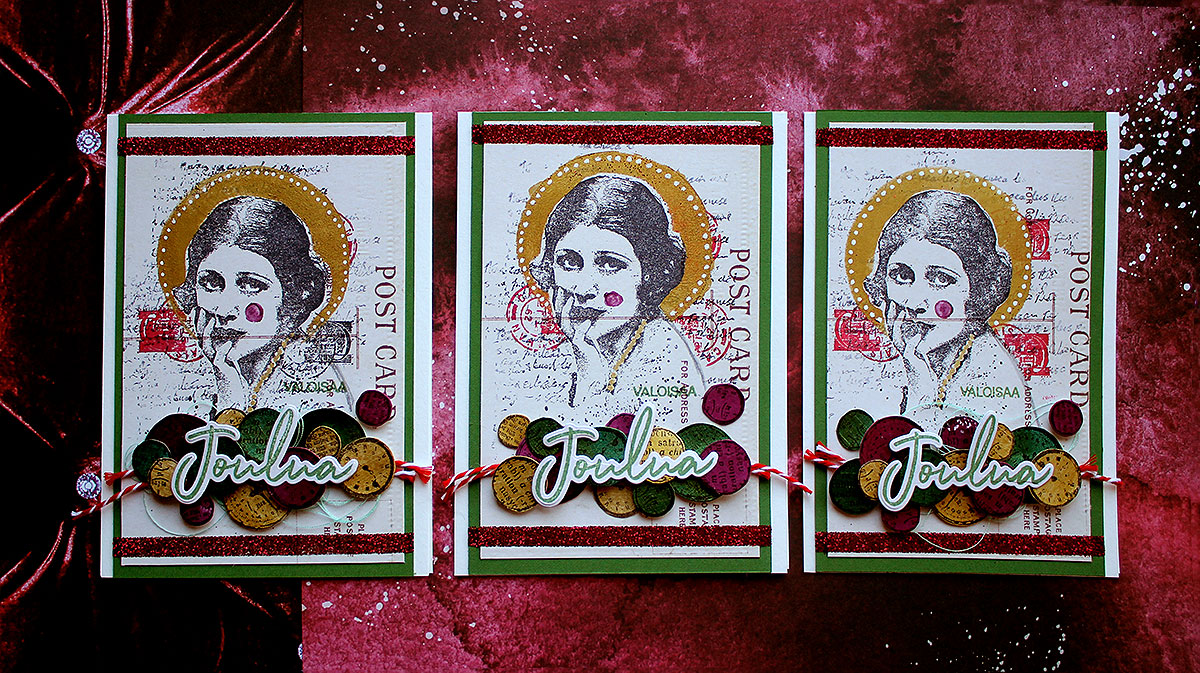
It's 24th! ...but November, not December. But it means that Christmas is coming nearer and nearer. These cards I made during a Facebook live in the beginning of the month. I used Finnabair stamps together with some glimmery mediums. You can see the announcement post here (link).

I've included the recording of the live underneath if you were unable to attend the live while it was happening. In it I show a couple of ideas to add sparkly elements to the card and also an easy masking technique. After the live I made one more card as I had the embellishments and elements to do it!


If you wish to see a detailed materials list, please visit the announcement post (link). I added a list with links to it! 

Thank you for stopping by today! Wishing you a great upcoming Holiday season!


09/11/2022

All is Bright - Finnabair Brand Ambassador


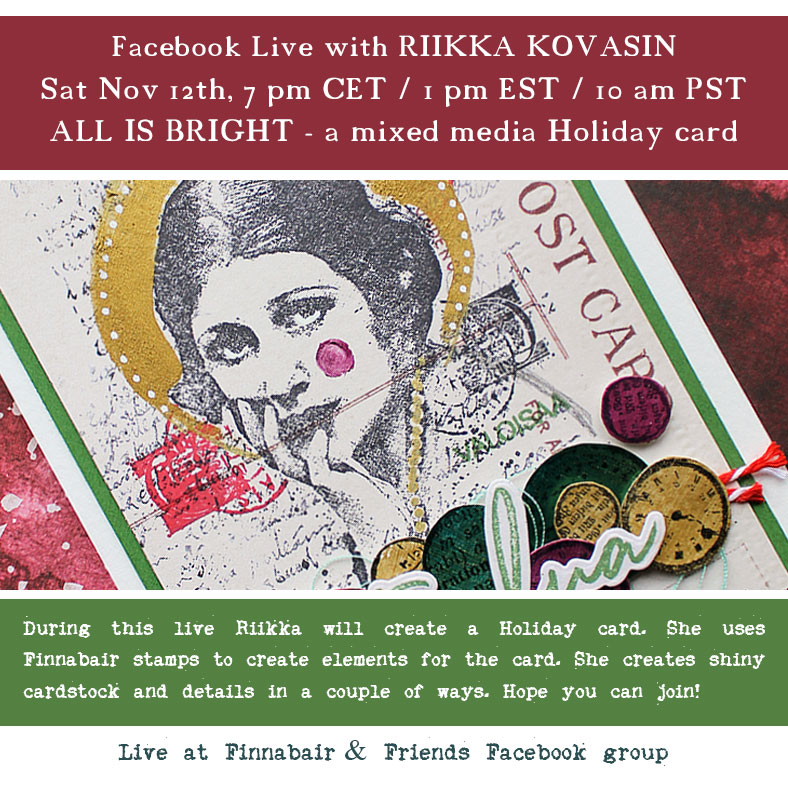
Moikka again! Today I'm sharing another delayed post, in a way. I should have kept a FB live last Saturday but had to postpone it due to illness. So, this coming Saturday I'm now re-creating this card! 

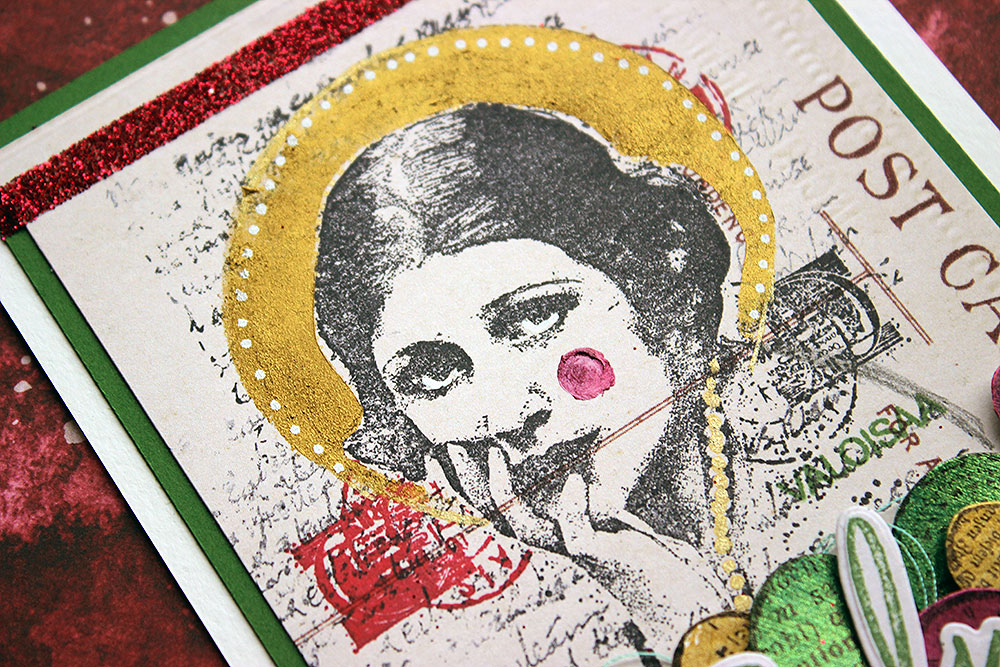
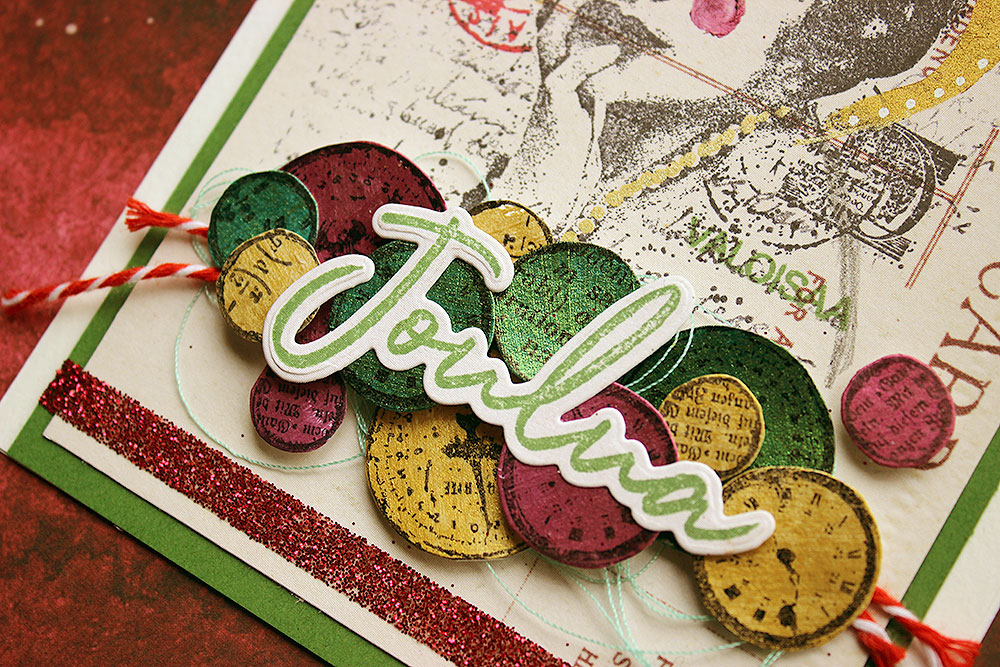
When thinking of what to do, I opted for a Holiday card. During my Finnabair ambassador post I have created quite many, usually using gesso and glitter and glitter pastes, so I wanted something else. What I usually kind of forget are the stamps, so I decided to highlight those and use masking technique. I also wanted some shine to this card so I decided to make some shimmery pieces of cardstock and also some glitter details. Hope you can join me next Saturday, November 12th at 7 pm CET! 


The place for the live is again Finnabair and Friends FB group. If you aren't already a member and would like to see the live while it's happening, please allow the admins a couple of days to answer to your request to join. On the other hand, the recording will be uploaded to my YouTube later on.

If you want to create along side me, I've added the materials list underneath the photo below. Links are to Mixed Media Place, Finnabair's own store.

Thank you for stopping by today! Wishing you a lovely day, stay safe everyone! 


Materials from Finnabair line:
(links go to Mixed Media Place, Finnabair's own store)

post card paper (P13 Mini Creative Pad Letters)
black ink pad (Ranger Archival Ink Jet Black)
red ink pad (Ranger Archival Ink Carnation Red)
green ink pad (Ranger Distress Ink Rustic Wilderness)
a greetings stamp (Korttipaja stamp set)
white and golden paint pen (Posca)
post its 
cream cardstock, green cardstock
double sided tape, foam tape, craft glue
paper cutter, scissors, stapler
paint brush, q-tip
pencil
red and white twine, sewing thread


28/10/2022

Poinsettia Beauties - Paper Garden


Hi there and happy Friday! While Halloween is just around the corner and after that Thanksgiving, I'm turning my gaze slowly to Christmas already! When I made these two cards using Paper Garden supplies, they were the first Christmas cards I had made this year! 

If you want to see, how these came into being, please see the process video below. Like I say in it, these printed items are from an earlier Christmas kit, but you can find similar from a printable that is still on sale on Paper Garden site. There's a link to that in a bit further down the post.


As you could see, I did the backgrounds for the two cards using same steps, but still they differ quite a lot. The biggest thing to this is the background paper - the stripy one with the white looks so much lighter than the solid red with the golden dots. On the other hand the roses are barely visible on the striped background where as they really pop from the red! Which one of the cards is your favorite? 


Thank you for stopping by today! Wishing you a lovely weekend and great Halloween if you celebrate that! The next blog post will be published on Tuesday, 1st of November!


Materials from Paper Garden:
Last years Christmas kit 


Materials: Paper Garden, Prima Marketing, PaperArtsy, Ranger, Kuusade


Related Posts Plugin for WordPress, Blogger...