Showing posts with label epiphany crafts. Show all posts

17/04/2016

Giraffe! - Epiphany Crafts


Hi there! Here's an older page I created Epiphany Crafts in mind. I did this right after this page (link) which was about the Berlin petting zoo. This page is about the zoo, too. 

There’s a zoo in Helsinki as well but it’s quite small and we don’t have many large animals there. There’s no elephants nor giraffes there, for example. So it was a huge surprise to take a turn around the corner in the Berlin zoo and stand almost face to face to a giraffe! It was majestic encounter. It took me a minute to really get my mind around the thing. 


I went with yellow tones in the page to get that sunny feeling but also added a touch of brown to mimic the animal. I used mists and inks to get a mixed media thing to the background. 

I used Round 25 as a design element in this page. First I stamped the frames to the page, then added yellow ink through a round stencil and also mimicked the circles with a pencil. On top I then made embellishments using the Round 25 Tool and Bubble Caps. 

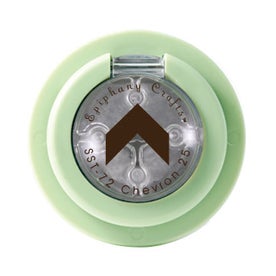
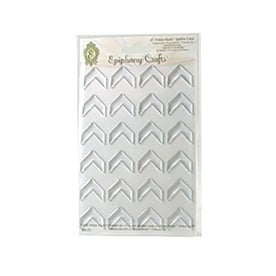
I wrote the journaling to the bottom of the paper and highlighted it with Chevrons. 

Thank you for stopping by today! Have a great day!


Products used:

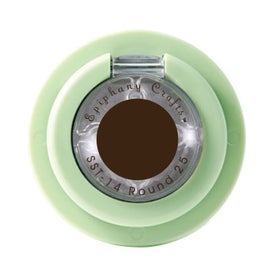
Round 25 Tool
Chevron Tool
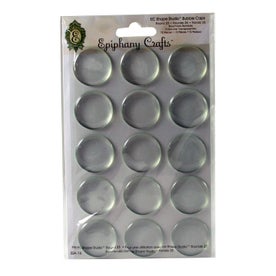
Bubble Caps Round 25
Bubble Caps Chevron 
Clear Stamps Round 25 Frames


Materials: Epiphany Crafts, 7 Dots Studio, Canvas Corp, Teippitarha

16/10/2015

Paijaus - GDT Epiphany Crafts


It's Friday! Wohoo! Any crafty plans for the weekend? Maybe I can get you inspired with this guest project I did for Epiphany Crafts? Here's a link to the original post (link). 

I love the versatility of the Epiphany Crafts products because with a little bit of imagination you can turn them into almost anything! What’s fun with the Bubble Caps that you can cover so many thing with them. What about saving a piece of Christmas card underneath one? Or then documenting your planner and turning an old page into an embellishment?

If you aren't familiar with the products yet, I urge you to take a look at their website. Ja suomalaisille tiedoksi että ensi viikonloppuna kurssitellaan Espoossa käyttäen myös näitä tuotteita! Paikkoja on vielä pari jos kiinnostaa liittyä seuraan! Lisää siitä tästä linkistä (linkki).


You don’t even have to limit yourself to papers with the Bubble Caps! What I did in this page was to use pieces of fabric underneath the Round 25 Bubble Caps. They are just random patterned ones from my stash but you could also use more special ones – like leftovers from a quilt you made. I also used the Round 14 Bubble Caps and Tool in this page and turned the paperclips into embellished ones. 

The topic of the page is a trip to a zoo and moreover the petting zoo. My two daughters and I were thrilled but my husband… not so much. But luckily we then had a paparazzi to take a few pictures of us! The Finnish title of the page translates into “pet”.

Wishing you all a great day! Have a splendid weekend!


Epiphany Crafts products used:

Round 14 Tool
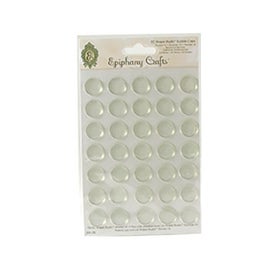
Bubble Caps Round 14
Bubble Caps Round 25

Materials: Epiphany Crafts, 7 Dots Studio, Prima Marketing, Ranger, American Carfts, Sharpie

14/04/2015

Vacation time - GDT Epiphany Crafts


Hi there! Today I'm sharing a guest piece done for Epiphany Crafts! I'm so happy to be able to guest for them again!

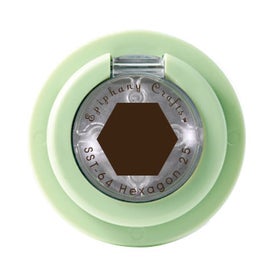
This time I used the Hexagon Tool to make myself a new stamp using a thin sheet of craft foam. I layered several shapes on top of each other and glued them together. That way I got the shape thick enough for stamping! Of course you can use other Epiphany Crafts Tools as well but the simple shapes are best as they are easier punch out of the foam.


Instead of ink I used acrylic paint as the stamping medium. I mixed several blues for the background and also layered some punched shapes on top for a layered, textural look.

The page is about a summer trip we did last summer. Or more about the cards we sent to family while in there. We let our girls to choose the cards and they came up with quite a special selection. For example grandmother got a 4-year-birthday card and great granddad "Hello from Finland" one. I think we should let kids choose more often - the outcome is much more fun that way! But enough about text, here's the video to show how I created the page and the stamp!


I hope you liked the video and the idea! Thank you for stopping by today! Wishing you a great day!


Materials from Epiphany Crafts:


Materials: Epiphany Crafts, Canvas Corp, Sodalicious, Prima Marketing, Ranger, Tattered Angels, Design Memory Craft, American Crafts

19/01/2015

Document 2015 - Epiphany Crafts


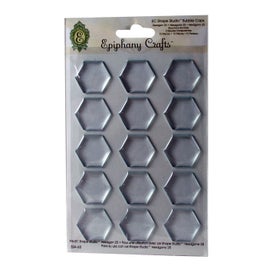
Happy new week! Yesterday I blogged a card with a video (link) that I did for Epiphany Crafts and here's a layout using the same glitter idea. In the card I used the Round 14 Bubble Caps but in here I used the Hexagons. I used three different glitters in the page and used the shapes to create a vertical composition to the page.

The topic of the page is the new year in the eyes of a scrapbooker. Both of my girls are eager crafters but as they still can't write on their own, I'm doing most of the documenting in our family. They do document their life in their own way with drawings and collecting memorabilia to notebooks and little boxes, but I'm kind of looking forward to see if they will embrace the scrapbooking when they get a little bit older!

This was my last project as a design team member in Epiphany Crafts - I want to thank Tricia for the opportunity to extend the guest term and design more projects using the fabulous bubble caps and tools! And thank you all for stopping by today! Sparkle on!


Supplies from Epiphany Crafts:


Materials: Epiphany Crafts, 7 Dots Studio, Sodalicious, Prima Marketing, Ranger, American Crafts, Design Memory Craft, Tattered Angels

18/01/2015

Shine Bright - Epiphany Crafts

ecdecyear1

Good evening! I'm sharing a few projects I did for Epiphany Crafts to celebrate the new year. Today I show you a card I did and tomorrow I shall blog a layout. 

The new year means a few things to me. It's a new start - new adventures, new growth and new happenings. It means I need to think a new word for the upcoming year and on a more concrete level it means fireworks! The glimmering fireworks were the inspiration behind the crafts this time. I created some self made shimmering embellishments using the Bubble Caps and used those to make both a layout and a card. You can see how I made the card from the video I did.


The card is done to celebrate the new year. The lighthouse shines brightly to the new year, guiding and the card greets the receiver to 'shine bright'. I used mists and inks to create the background to the piece and used the same technique in my layout, too. 

Thank you for stopping by today! Shine bright!

Supplies from Epiphany Crafts:


ecdecyear1d1

Materials: Epiphany Crafts, Tattered Angels, 3rd Eye, 7 Dots Studio, Prima Marketing, Kreinik, American Crafts, Ranger

09/12/2014

Poinsettia cards - Epiphany Crafts


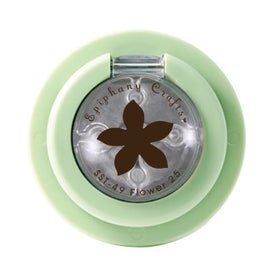
Hello there readers! Today I'm sharing a card tutorial using the Epiphany Crafts Flower Tool. You can see the original post here at Epiphany Craft's blog (link). The Flower Tool is also the tool of the month so you can grab it to yourself with a discount prize!

Christmas is the season of giving. There's cards to be sent, a little gifts to be made. I usually craft cards one by one but every year the Christmas cards are another story. For those I make up an assembly line and my kids and me work together creating similar cards for all the receivers. Every year I think that next year it might be different, creating unique ones to every one but somehow the assembly line is a tradition of its own.


Punches are great way to make cards as you can easily create a large amount of the same shape. What's also nice that kids can use them too! Punch shaped like a flower like the Epiphany Crafts Flower tool are handy as you can create all sorts of flowers with it and scissors. This dawned to me while visiting a friend who makes a lot of handmade flowers to her cards. Just by altering the shape of the petals a little can produce a multitude of flowers. For this tutorial I created poinsettias in the spirit of Christmas. Just follow the steps below and create a card or tag in no time.


Start by punching out the flowers. Every poinsettia needs four of them. You can use white cardstock or colored ones but you'll need three shapes of the color of the flower and one green. Using a ball tool shape the petals dimensional but leave the leaf flat.


Shape the top most layer of the flower with the scissors. Poinsettia has the petals separate so mimic that shape by cutting the shapes deeper. Then layer the shapes on top of each other using the leaf as the base and the petals on top. Stack the shapes so that the petals show underneath each other, turning each layer slightly. Use glue to adhere the layers. Then use Liquid Pearls of equivalent to create the stamen of the flower.


While the flower dries create the wreath. Use a wreath stamp or just draw the wreath by hand. You can use a leafy, spring like wreath as well as you can alter it a little. Start by inking the wreath with Distress Ink or equivalent, water re-active ink. Then spray the stamp lightly with water and stamp the water-color style image to your card. Add a few flicks of water and let the ink bleed a little.


Using different tools add needles to the wreath. Start by using a water brush and the ink you stamped with. Then move on to a pencil and also fine felt pens if you wish. To me pencil was the best tool for the needles.


Create a few embellishments for the wreath also. Use an office hole punch and create little golden circles to decorate the wreath. Using the Epiphany Crafts bubble caps create see-though ornaments by adding golden thread underneath the shape and trimming the excess of with scissors.


Glue the poinsettias and other decorations to the wreath. Finish the card with a hand-drawn frame around the edge. I used a golden gel pen and a pencil.


Here's the finished card in white and below you can see the red version. I hope you have enjoyed the tutorial! Thank you for stopping by today!


Materials from Epiphany Crafts:


Materials: Epiphany Crafts, Ranger, Copic, Design Memory Craft, Sakura, Fiskars, Wow Embossing Powders

25/11/2014

Stubborn - Epiphany Crafts


Hi there! How are you doing today? Yesterday I shared a notebook with a tutorial video and here's a layout using the same idea - the ovals on top of each other creating a pattern to the background. The Oval is Epiphany Crafts tool of the month! I also included one oval more - I replaced an "O" in my title with a black oval topped with a bubble cap. 

The layout is about my younger one who has a really strong will. Now that she's on the verge of turning four her strong will and determination has changed into simple stubbornness. For a while now she has had absolutely the opposite opinion than anyone else and doing exactly the opposite than she's been asked to. I find it so dear and reassuring that she feels free to express herself and grow and seek the boundaries!

Thank you for stopping by today! Wishing you a lovely evening!


Supplies from Epiphany Crafts used in this project:


Materials: Epiphany Crafts, Canvas Corp, Design Memory Craft, Tattered angels, Sodalicious, Badges Folie, American Crafts, We Are Memory Keepers

24/11/2014

4 U notebook - Epiphany Crafts


I hope you have had a lovely start to the week! Here's a little notebook I made for Epiphany Crafts. Or rather decorated the cover as I didn't make the whole notebook.

I've used the tool of the month at Epiphany Crafts here. This month the tool is oval! It's such a lovely shape - more energetic than a circle but still more calm and peaceful than a rectangular. When I was doing the other project, my mother who was visiting us said that it reminds her of an egg. So get a real head start to Easter crafts and get your tool already!


I did two projects using the same idea - a notebook cover and a layout. You can see the page here at Epiphany Crafts blog already (link) but I'm sharing it also here in my blog tomorrow. For both projects I created a rainbow of ovals and made layers with the colored and vellum pieces. If you want to see how the cover above was made please watch the video!


As I'm really drawn to mixed media and doing things with paints and color mediums, I used Gelatos crayons to make the colorful pieces. Of course if you have suitable papers to form the rainbow you can use them. Or you don't even have to make a rainbow - just one or two colors would also look nice. Maybe do a rainbow of notebooks? One yellow, one orange, one red and so forth! The Christmas is coming and something this simple but yet hand-customized might be just the thing!

I hope I have inspired you! Thank you for stopping by!


Supplies from Epiphany Crafts used in this project:


Materials: Epiphany Crafts, Design Memory Craft, Canvas Corp, 7Gypsies, Sodalicious, Ranger, Teippitarha, Prima Marketing
Related Posts Plugin for WordPress, Blogger...